Custom Wallet UI
In this guide, you will learn how Web3 apps that integrate with the Arcana Auth SDK can disable the built-in Arcana Wallet UI altogether and use a custom wallet UI to allow authenticated users to sign blockchain transactions.
To use the white-labeled auth feature, the developers must first use the Arcana Developer Dashboard to register the app, configure authentication providers and only then integrate the app with the Arcana Auth SDK and onboard users.
In addition, developers must also build custom wallet UI and call the standard Ethereum JSON RPC calls supported by the Arcana Auth SDK for enabling the authenticated users to programmatically sign blockchain transactions.
Prerequisites
-
To use the Arcana Developer Dashboard, developers can sign in using one of the supported social login providers or opt for passwordless sign-in.
- GitHub
- Twitch
- Discord
Step 1: Developer Dashboard Login
Go to https://dashboard.arcana.network and log in using one of the available options.
Aggregate Login
The Arcana Auth protocol aggregates multiple login identities for the user across social login providers under a single identifiable Arcana account. This enables developers to log into the Arcana Developer Dashboard through any of the supported login providers and access the same Arcana developer account and app settings.
Step 2: Register Application
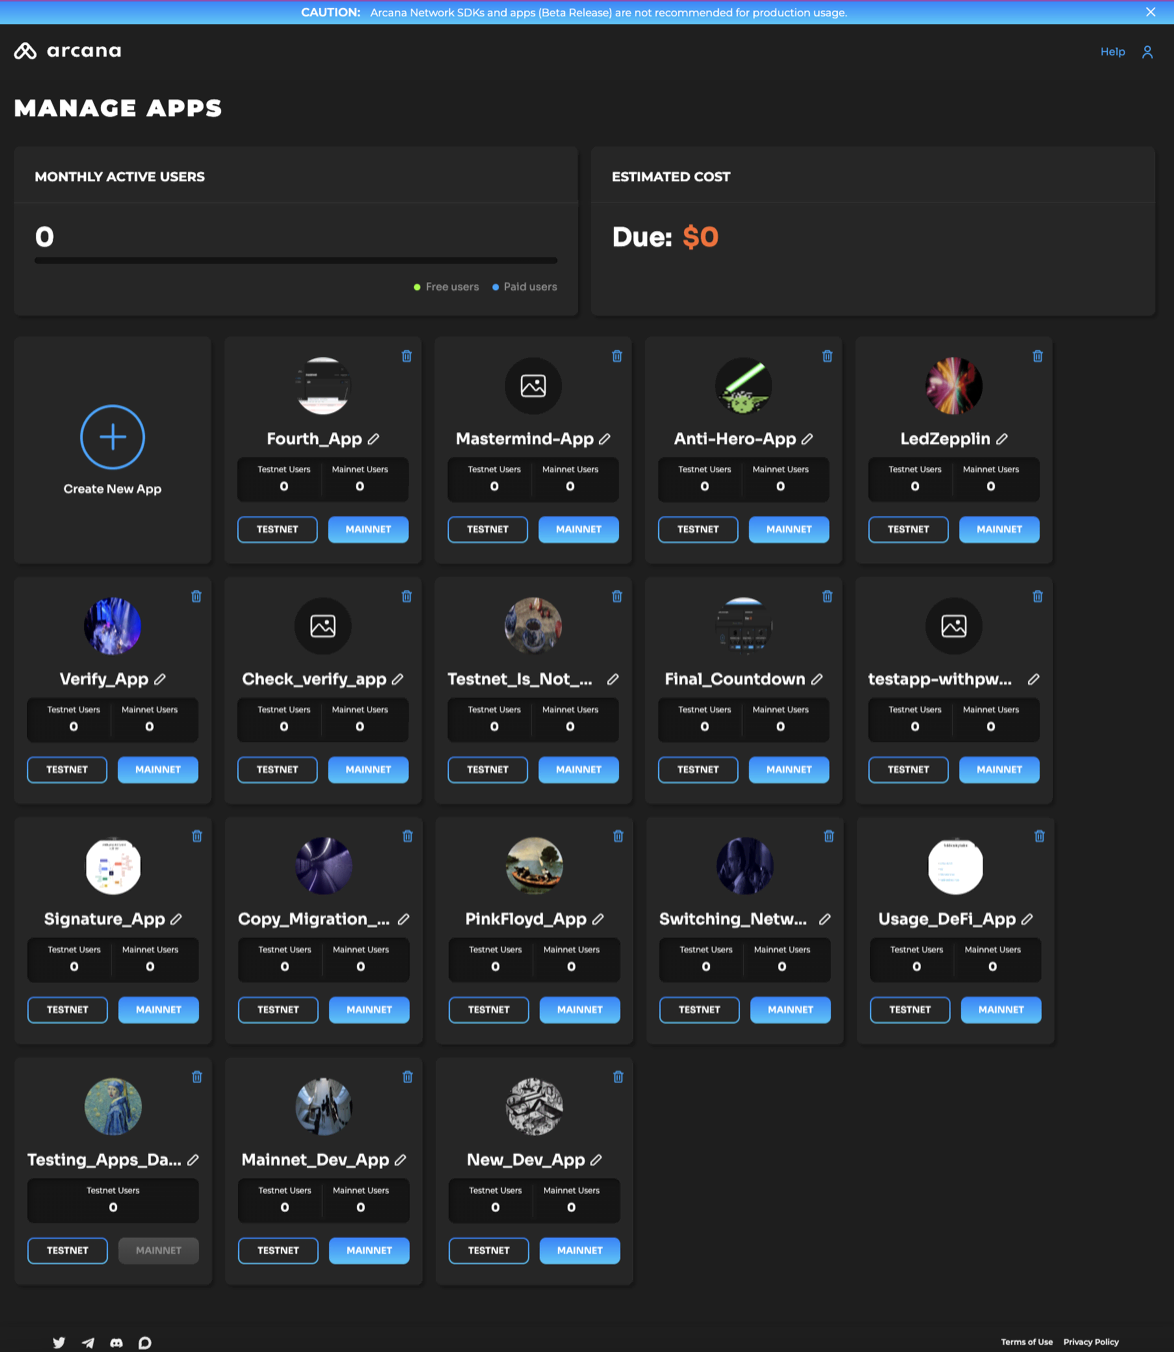
After logging in, the Manage Apps dashboard screen is displayed.
List Registered Apps
Each app registered for a developer account is represented by a card in the Manage Apps screen of the Arcana Developer Dashboard.
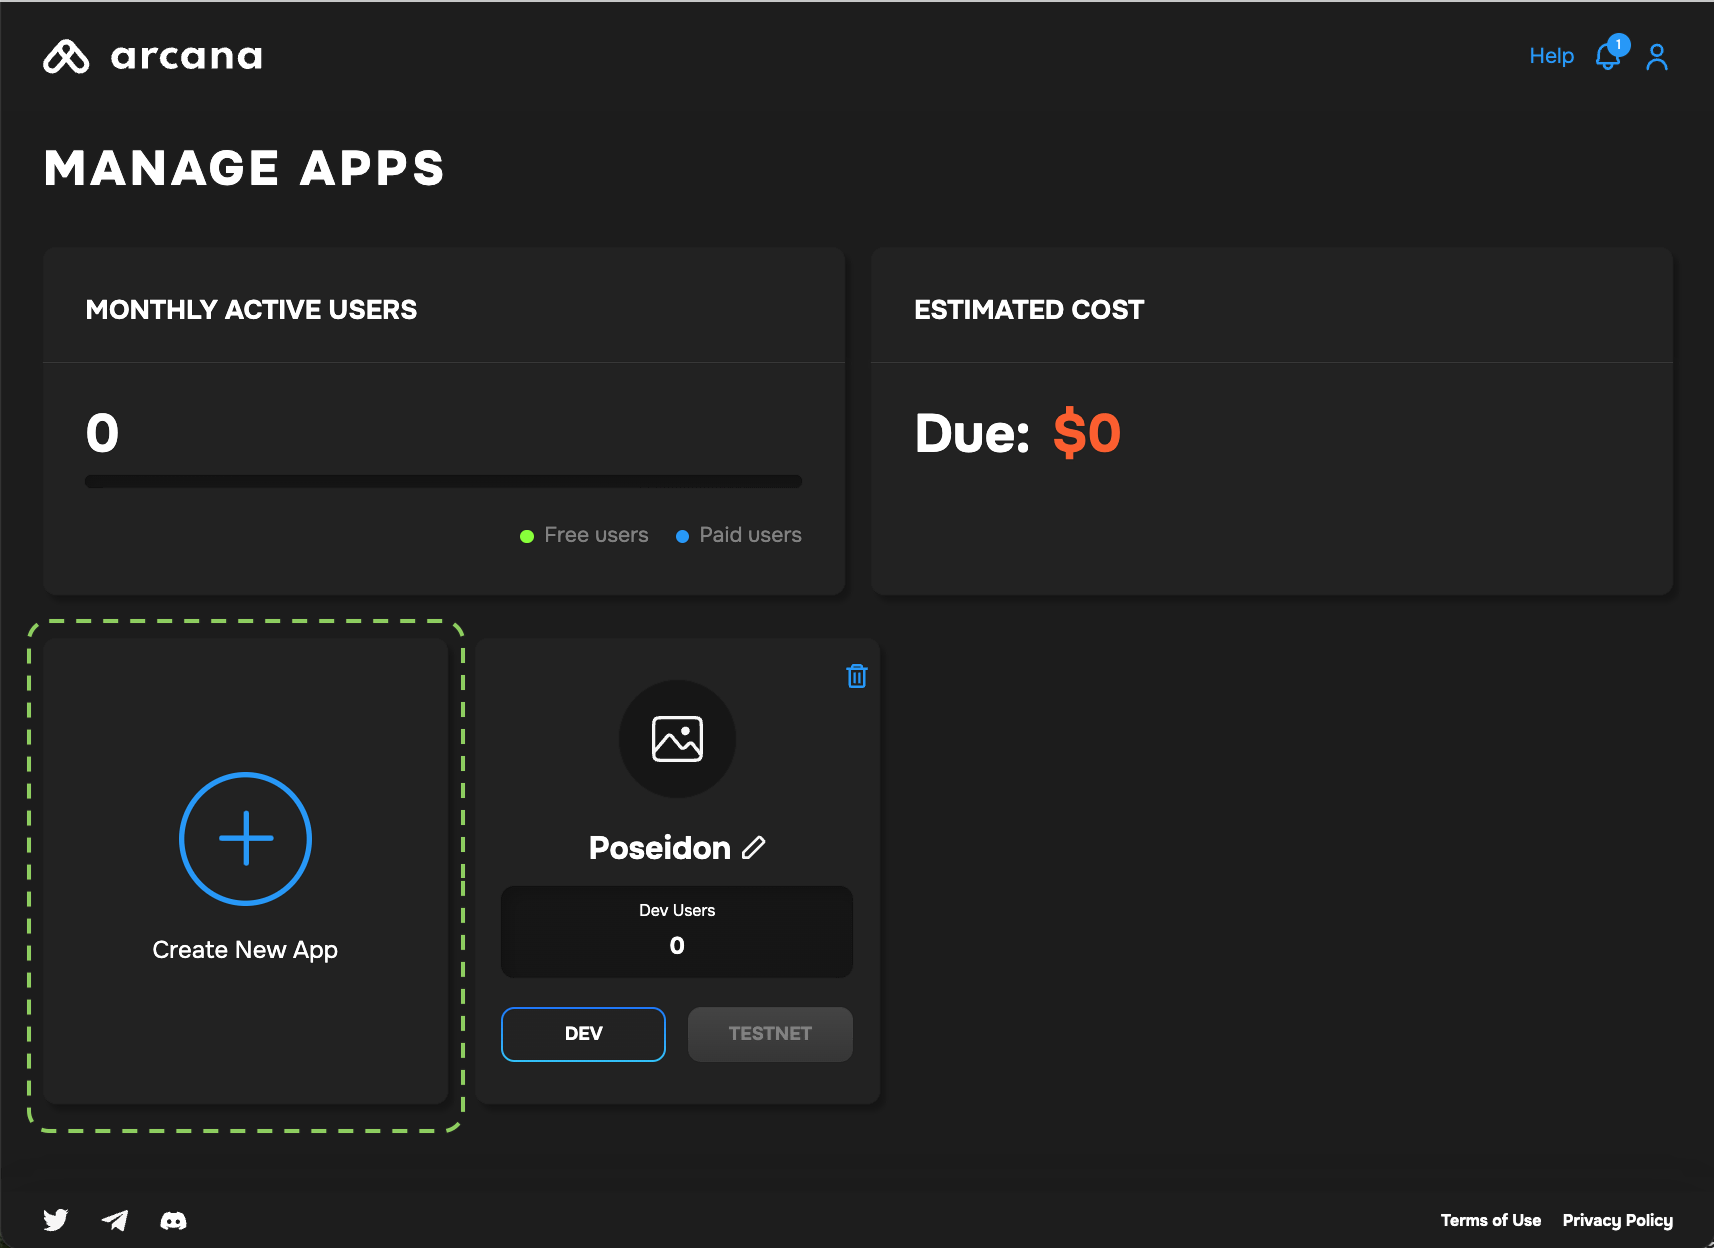
Initiate App Registration
In the 'Manage Apps' dashboard, click Create New App wizard to register a new app.
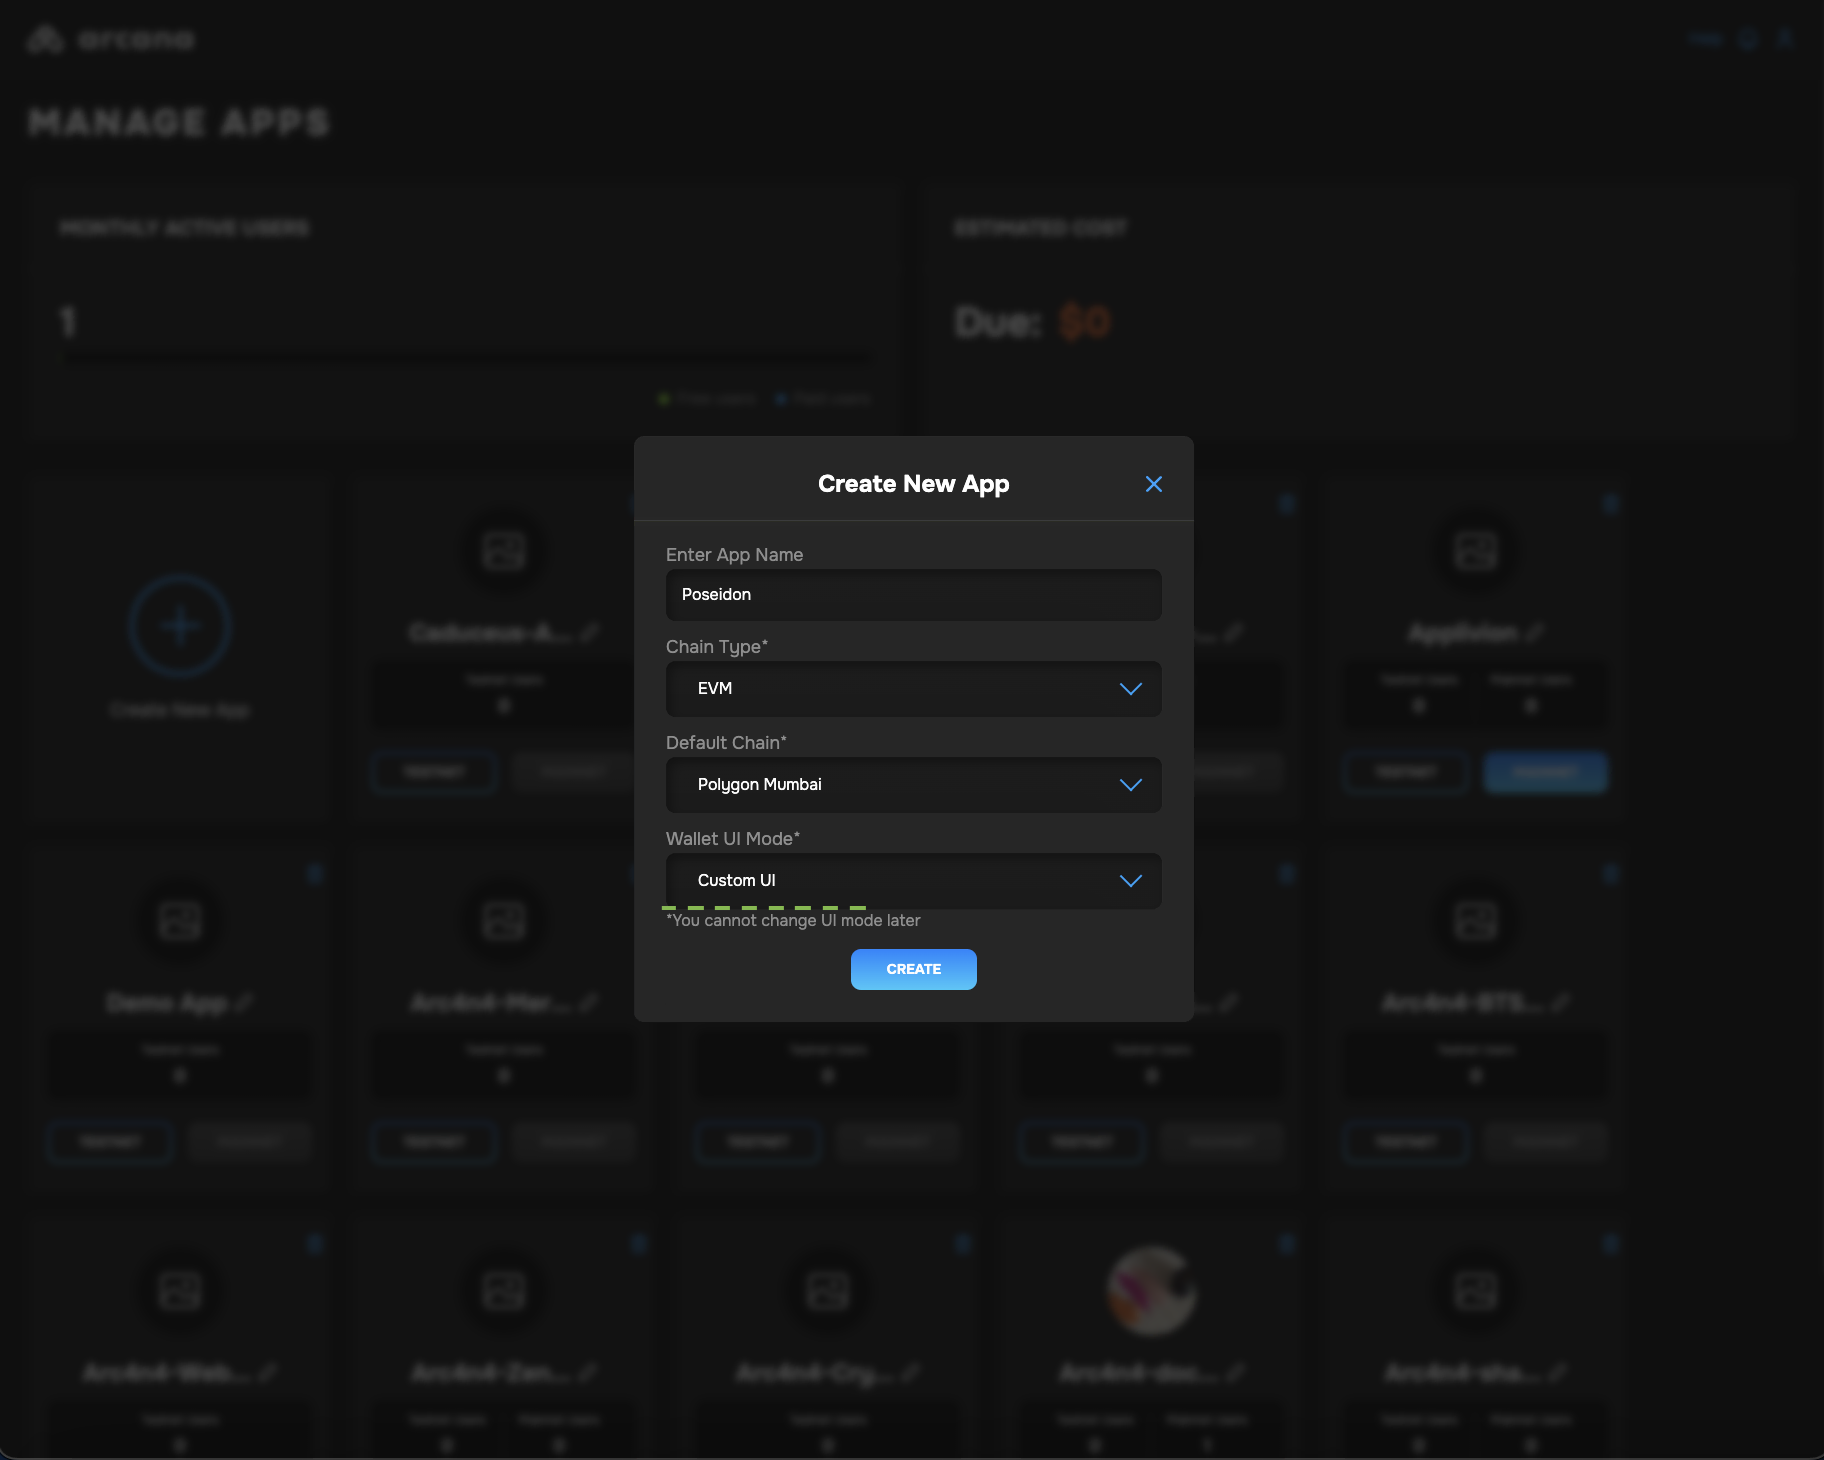
Registration Settings
To register a new app, the developer needs to provide the following settings:
- App name
- Chain Type: EVM, Solana, MultiversX
- Default Blockchain
- Wallet UI Mode
App Name
Add a unique name for the app. It can be edited later. After registration, a unique Client ID is associated with each app name. This Client ID is never changed, even if the app name is altered.
All emails related to a registered app billing or user login will mention the latest app name as displayed in the dashboard. Once an app is deleted, the Client ID is no longer valid. Creating a new app with the same name and registering it with Arcana will result in a new Client ID associated with the same name.
Edit App Name
To edit the name of a registered app entry, use the pen icon. Click Enter in the editable text field to save the changes.
Chain Type
Developers need to decide at the time of registration whether the app will use the EVM chains or one of the non-EVM chains supported by the Arcana Auth SDK.
Non-EVM Chains
When registering an app through Arcana Developer Dashboard, the choice of chain type (EVM, MultiversX, or Solana) is final. App developers can't change it later. They can switch the default chain within the same type. For example, a Solana app on Testnet can switch to Solana Mainnet or Solana Dev but not to MultiversX or an EVM chain.
Default Blockchain
The chain marked as default is the one that is selected and displayed in the wallet once the user logs into an app that is integrated with the Arcana Auth.
The default chain can be changed programmatically via the app developer once the user approves switching of the chain. Also, the user can change the default chain anytime by using the wallet UI. Chains can be switched to any one of the ones displayed in the pre-configured list in the wallet UI or in the app chain settings displayed in the dashboard.
Wallet UI Mode
The wallet UI mode setting allows the developers to choose whether they want to enable the built-in Arcana wallet UI in the context of their app or build a custom wallet UI for the app users. Note, this is a one-time setting at the time of registering the app.
By default, Arcana wallet UI is enabled for all registered apps. Selecting Custom Wallet UI option disables the built-in Arcana wallet UI altogether.
Custom Wallet UI
This is a one-time setting. It cannot be changed again later once the app is registered. When selecting the custom wallet UI option, developers must build a custom wallet UI and programmatically wire it to the appropriate JSON-RPC Web3 wallet operations. Also, there are no notifications generated by the Arcana Auth SDK when a custom wallet UI is selected. The developers must add requisite logic and code to get the user approvals for blockchain operations.
Confirm Registration
After providing all the required inputs, click Create to register the app.

A newly registered app dashboard displays Testnet configuration settings. A unique Client ID is assigned for the Testnet profile. Developers can deploy the app on the Arcana once SDK usage is configured in the dashboard and the app is integrated with the SDK.

Mainnet Deployment
To deploy the app on the Arcana Mainnet, developers need to create a Mainnet configuration profile and obtain a different Client ID. Update the integration code with this Mainnet Client ID. This step is necessary to deploy the app on the Arcana Mainnet.
For more information, refer to the Testnet > Mainnet Migration Guide.
Click Configure in the LHS menu to view and edit the configuration settings.
To use a custom wallet UI, specify the Wallet UI Mode setting as 'Custom UI' before clicking the create button.
Custom Wallet UI
Developers can choose the custom wallet UI option at the time of registering the app with Arcana. This is a one-time setting. Once selected, the setting cannot be changed later after the app is registered. The app can integrate with the Arcana Auth SDK and cannot use the built-in Arcana wallet UI at all. Developers must create a custom wallet UI and plug in the requisite Web3 wallet operations.
You can view the Wallet UI Mode setting in the app configuration dashboard.

Global Keys Not supported
If a developer chooses white-labeled auth and plugs in a custom wallet UI, only app-specific keys are supported. What this means is that authenticated users will see different wallet addresses when they sign in using the same authentication provider in a different app in the Arcana ecosystem.
Step 3: Configure Authentication Providers
Follow the instructions to configure authentication providers before integrating the app with the Arcana Auth SDK.
Step 4: Integrate App
Use the appropriate integration method as per the app type and integrate the app with the Arcana Auth SDK.
Step 5: Onboard Users
Apps that are integrated with the Arcana Auth SDK can choose the built-in plug-and-play login UI or use custom login ui to onboard users. For details, see onboarding users documentation.
Step 6: Plug in Custom Wallet UI
Once user onboarding logic is in place, developers can add code to wire the custom wallet UI by using the standard Ethereum EIP-1193 provider. This provider can be obtained after instantiating the AuthProvider while integrating the app with the Arcana Auth SDK.
Use the provider for calling JSON-RPC Web3 wallet operations and display UI notifications to allow the users to approve or reject the blockchain request. Note that in the case of custom wallet UI, there will be no blockchain transaction notification pop-ups generated by the Arcana Auth SDK. Once the app developer issues the JSON-RPC wallet operations supported by the Arcana Auth SDK, the transaction is assumed to be approved and directly submitted to the requisite network as specified in the blockchain request.
Here is a sample code snippet to demonstrate how a vanilla HTML/CSS/JS app can integrate with the Arcana Auth SDK, onboard users via plug-and-play login UI and use the standard EIP-1193 Ethereum provider for plugging in wallet functionality and blockchain signing operations with a custom wallet UI.
import { AuthProvider } from "@arcana/auth";
import { ethers } from 'ethers';

let provider;
const auth = new AuthProvider('xar_live_nnnnnnnnnnnnnnncdddddddd')  //Use registered app client Id

// initialize the Arcana AuthProvider before calling any AuthProvider functions
...
await auth.init()
...

// onboard users - for e.g. using plug-and-play ui

const arcanaProvider = await auth.connect()

// alternatively, onboard users by calling loginWithLink(deprecated), `loginWithOTPStart`, `loginWithOTPComplete`, loginWithSocial, loginWithBearer for passwordless, social or IAM providers.
...

const provider = new ethers.providers.Web3Provider(arcanaProvider)

// Call ethers provider APIs see https://docs.ethers.org/v5/api/providers/provider/ for details
await provider.getBlockNumber()

// Use the Arcana provider to sign a message using JSON RPC calls

async function signMessage() {

  // Display a notification in custom wallet UI  showing the message details and seeking user's approval

  ...

  // Once user approves, issue the request via the Arcana Auth SDK to sign transaction

  const { sig } = await arcanaProvider.request({
    method: 'eth_sign',
    params: [
      {
        from, // sender account address
        data: 'Some message data',
      },
    ],
  })
  console.log({ sig })
}

...

// You can send tokens or use eth_sendtransaction functionality in custom wallet UI
// Show a UI notification displaying the transaction details and ask for user's approval

...

// Use the Arcana provider to issue the send transaction

async function sendTransaction() {
  const hash = await arcanaProvider.request({
    method: 'eth_sendTransaction',
      params: [{
      from,
      gasPrice: 0,
      to: '0xE28F01Cf69f27Ee17e552bFDFB7ff301ca07e780', // receiver account address
      value: '0x0de0b6b3a7640000',
    },],
  })
  console.log({ hash })
}

...
Developers can also add code for other supported Web3 wallet operations as required by the app.
Getting Private Key with Custom Wallet UI
When utilizing the default Arcana wallet UI, authenticated users can securely access and copy their private key if needed.
For custom wallet UIs, developers have the freedom to create a similar feature for authenticated users. To enable users to view their private key, developers can use the _arcana_getPrivateKey call to safely retrieve the authenticated user's key share and display the locally generated private key within the app's context.
// Only valid when custom wallet UI is selected in the dashboard
// during app registration

async function onClickGetUserPrivateKey() {
  const authProvider = window.ethereum //assuming setWindowProvider is set when AuthProvider was instantiated
  try {
    const userPkey = await authProvider.request({
      method: '_arcana_getPrivateKey',
      params: []
    });
    // Do something with the key in custom wallet UI
    // For e.g., display it in the app context, allow user to copy it
  } catch(error) {
        console.log(error);
  };
}
That is all!
The Web3 app is all set to use the custom wallet UI and allow authenticated app users to sign blockchain transactions.
What's Next?
After registering the app, configuring authentication providers, integrating the Arcana Auth SDK with the app and onboarding users, developers can further add code in the app to sign blockchain transactions, send and receive native, ERC20, or custom tokens, and more.
For a complete list of other JSON RPC calls supported by the Arcana wallet, see JSON-RPC Specifications.
See also
- Send transactions
- Check the wallet account balance
- Watch crypto assets
- Arcana Auth SDK Usage Guide
- Arcana Auth SDK Reference Guide