Manage Branding
In this guide, you will learn how to use the branding settings in the Arcana Developer Dashboard to manage the look and feel of the embedded Arcana wallet that shows up in an application context.
By default, the Arcana wallet displays this logo ![]() , and uses a dark theme.
, and uses a dark theme.
Prerequisites
-
Make sure you can access the Arcana Developer Dashboard: https://dashboard.arcana.network
-
The app must be registered using the Arcana Developer Dashboard.
Managing the displayed list of pre-configured chains for authenticated users in Arcana wallet UI within the Web3 app is simple!
Step 1: Dashboard Log-in
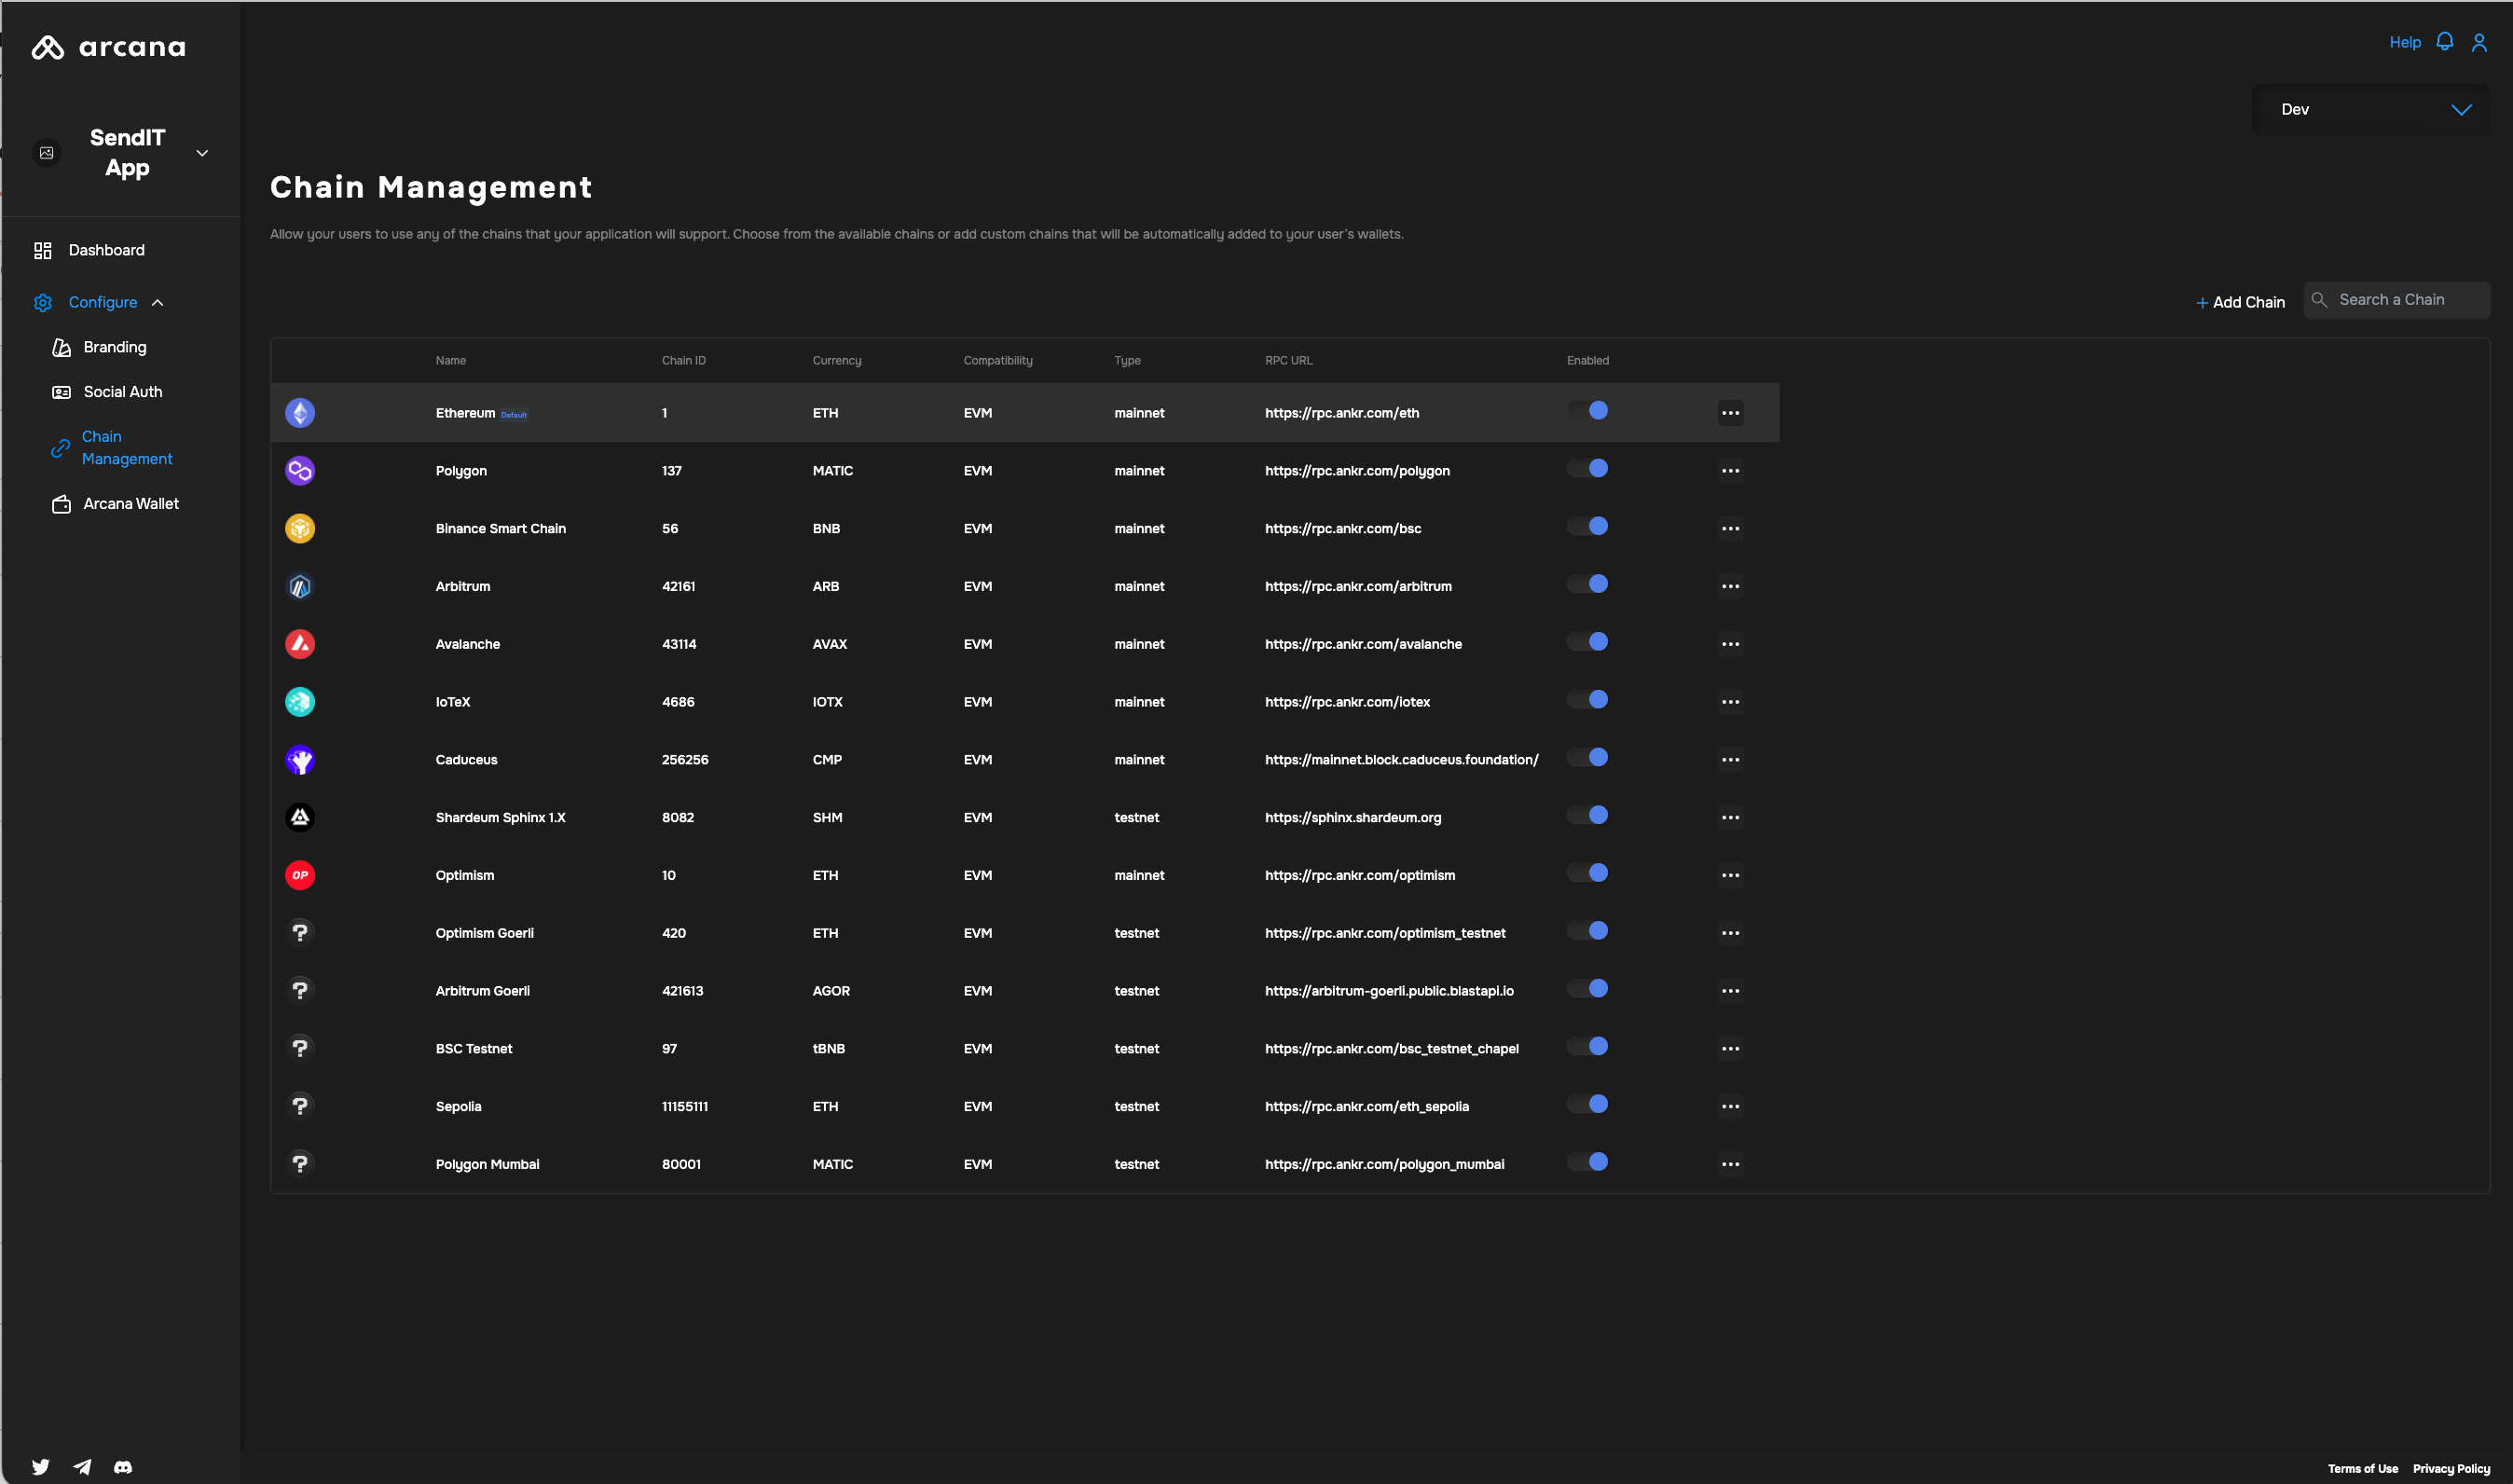
Log in to the Arcana Developer Dashboard and click your registered app entry from the 'Manage Apps' screen. Click Configure in the LHS navigation area. Select Chain Management to configure the default subset of supported chains.
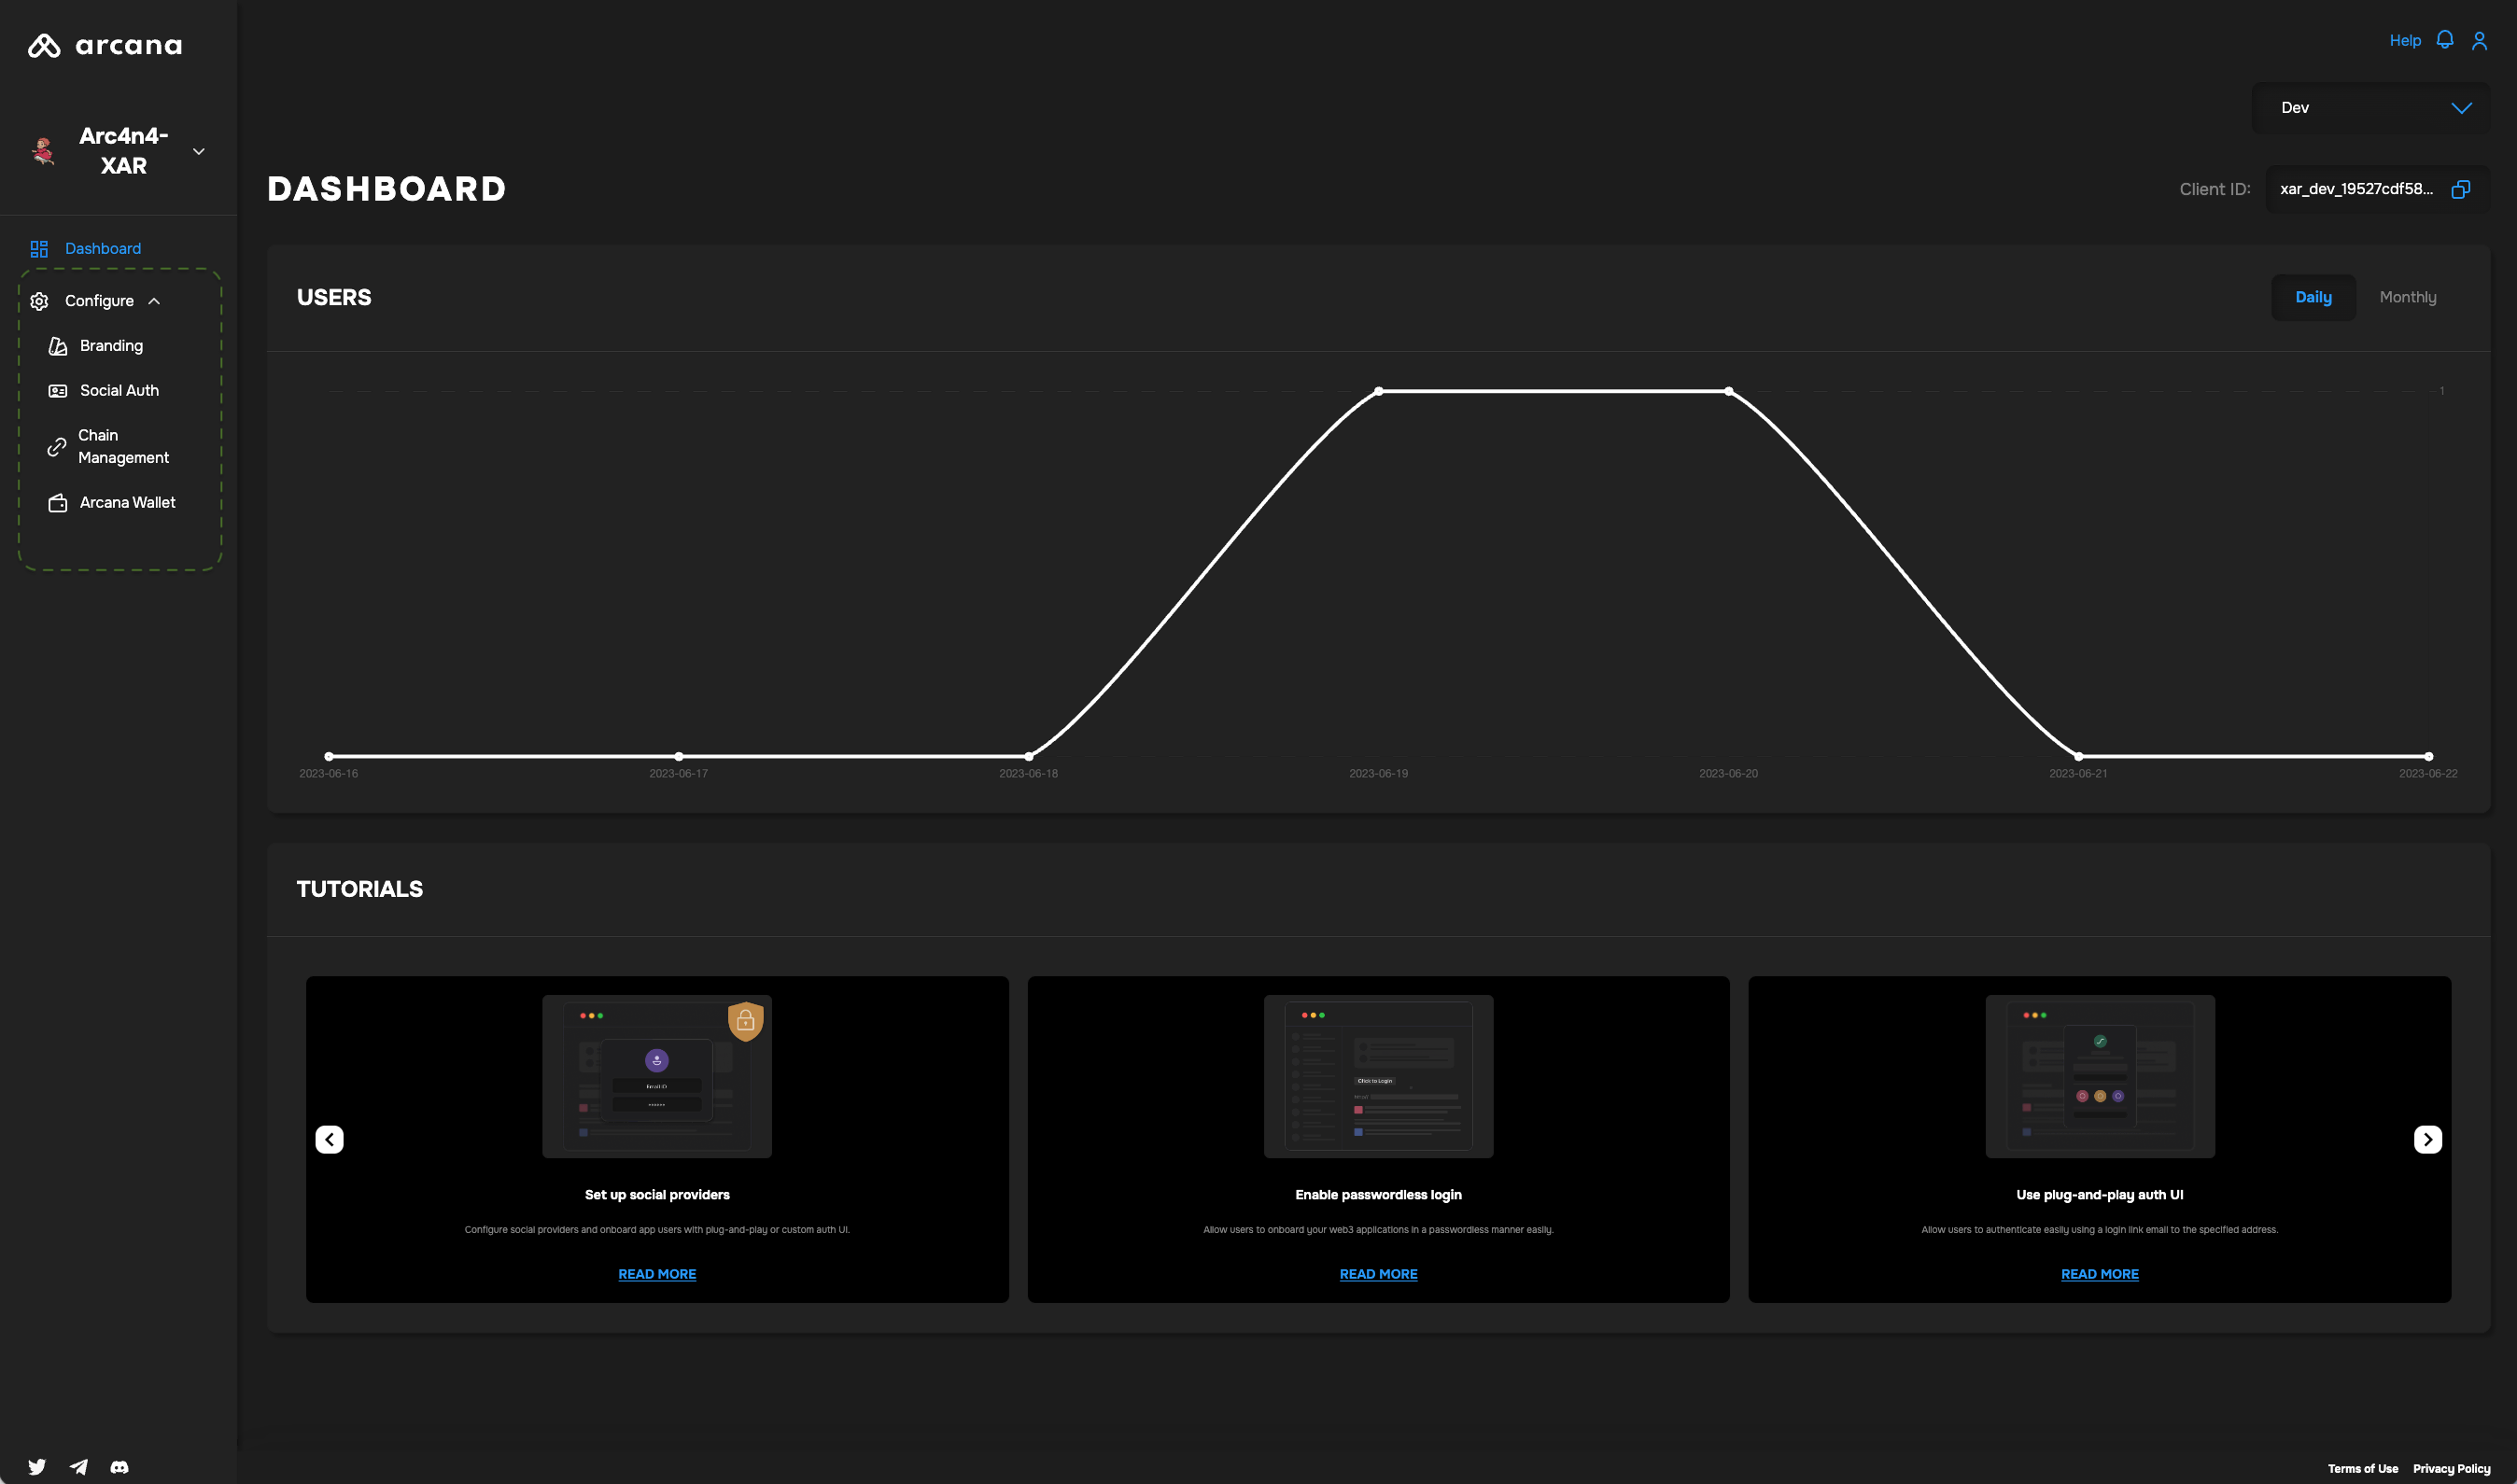
The chain configuration UI is displayed:
Step 2: Configure Branding
Select the registered app from the Manage Apps dashboard screen for which you wish to tweak the branding. Double-click the app and you will see the app dashboard. Click Configure* in the LHS navigation menu.
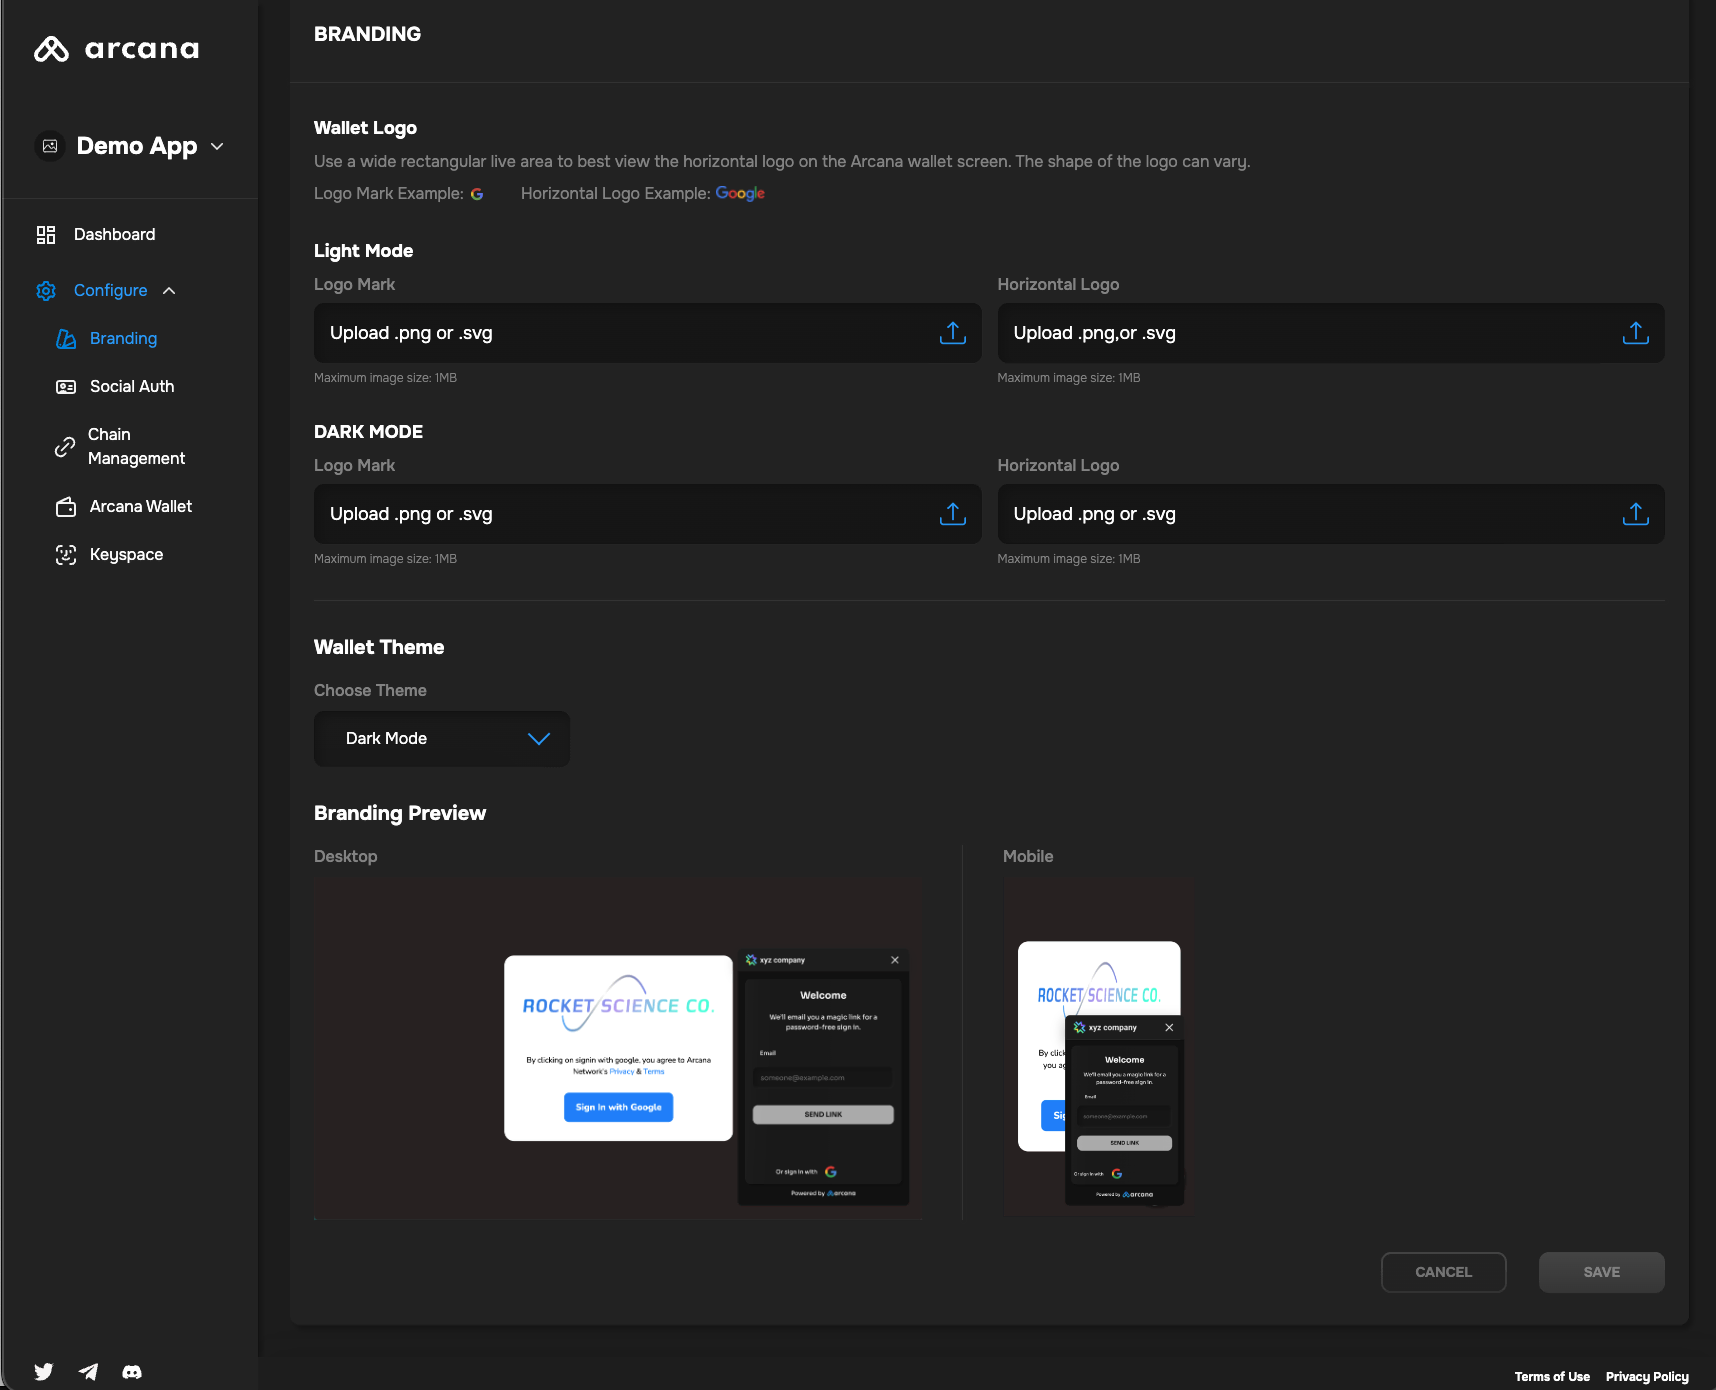
You will see Branding as one of the configuration options. When you select branding you will see the available configuration settings that can be changed as per the app requirements:
- Upload Logo: Upload light and dark theme branding/logo images that are displayed in the Arcana wallet UI.
- Wallet Theme: You can change the default 'dark' theme.
Branding Settings
Branding is Optional
You can choose to use the default branding settings and continue to integrate your app with the Arcana Auth SDK.
That's all!
What's Next?
Besides managing the branding for the Arcana Developer Dashboard you can also configure the list of pre-defined chains displayed in the wallet, manage the user experience of having the same wallet address across multiple apps integrated with the Arcana Developer Dashboard via the keyspace setting, manage wallet visibility, choose a custom wallet UI instead of the built-in wallet UI, etc.