Register App
In this tutorial, you will learn how to register a Web3 app and get a unique client identifier required for integrating with the Arcana Gasless (Standalone) SDK.
Prerequisites
-
To use the Arcana Developer Dashboard, developers can sign in using one of the supported social login providers or opt for passwordless sign-in.
- GitHub
- Twitch
- Discord
Steps
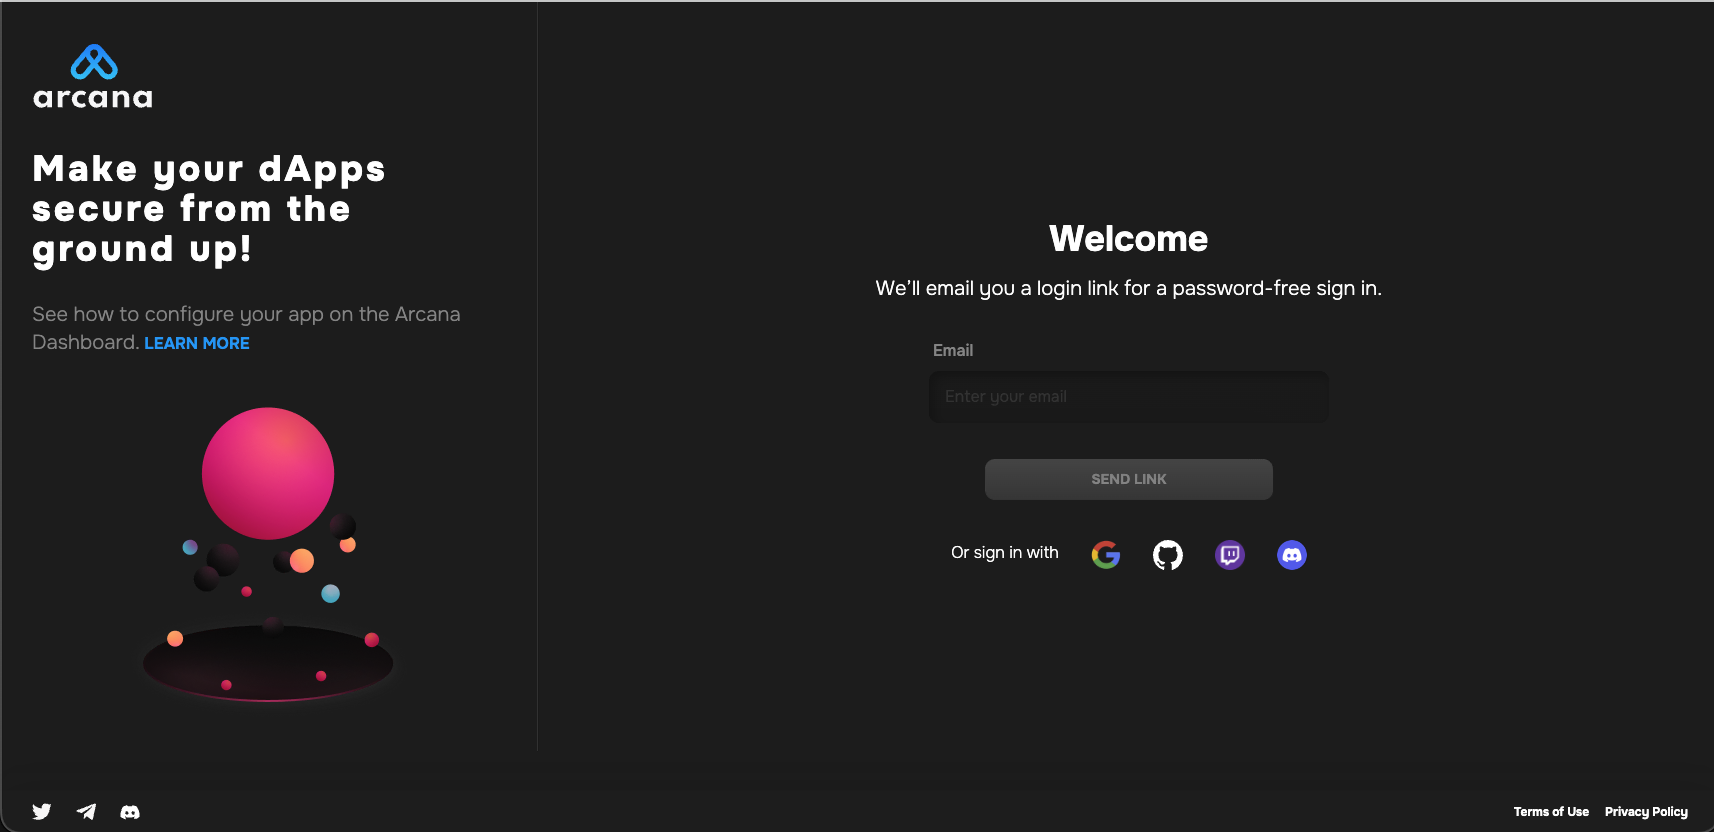
1. Log into Dashboard
Go to https://dashboard.arcana.network and log in using one of the available options.
Aggregate Login
The Arcana Auth protocol aggregates multiple login identities for the user across social login providers under a single identifiable Arcana account. This enables developers to log into the Arcana Developer Dashboard through any of the supported login providers and access the same Arcana developer account and app settings.
2. Register App
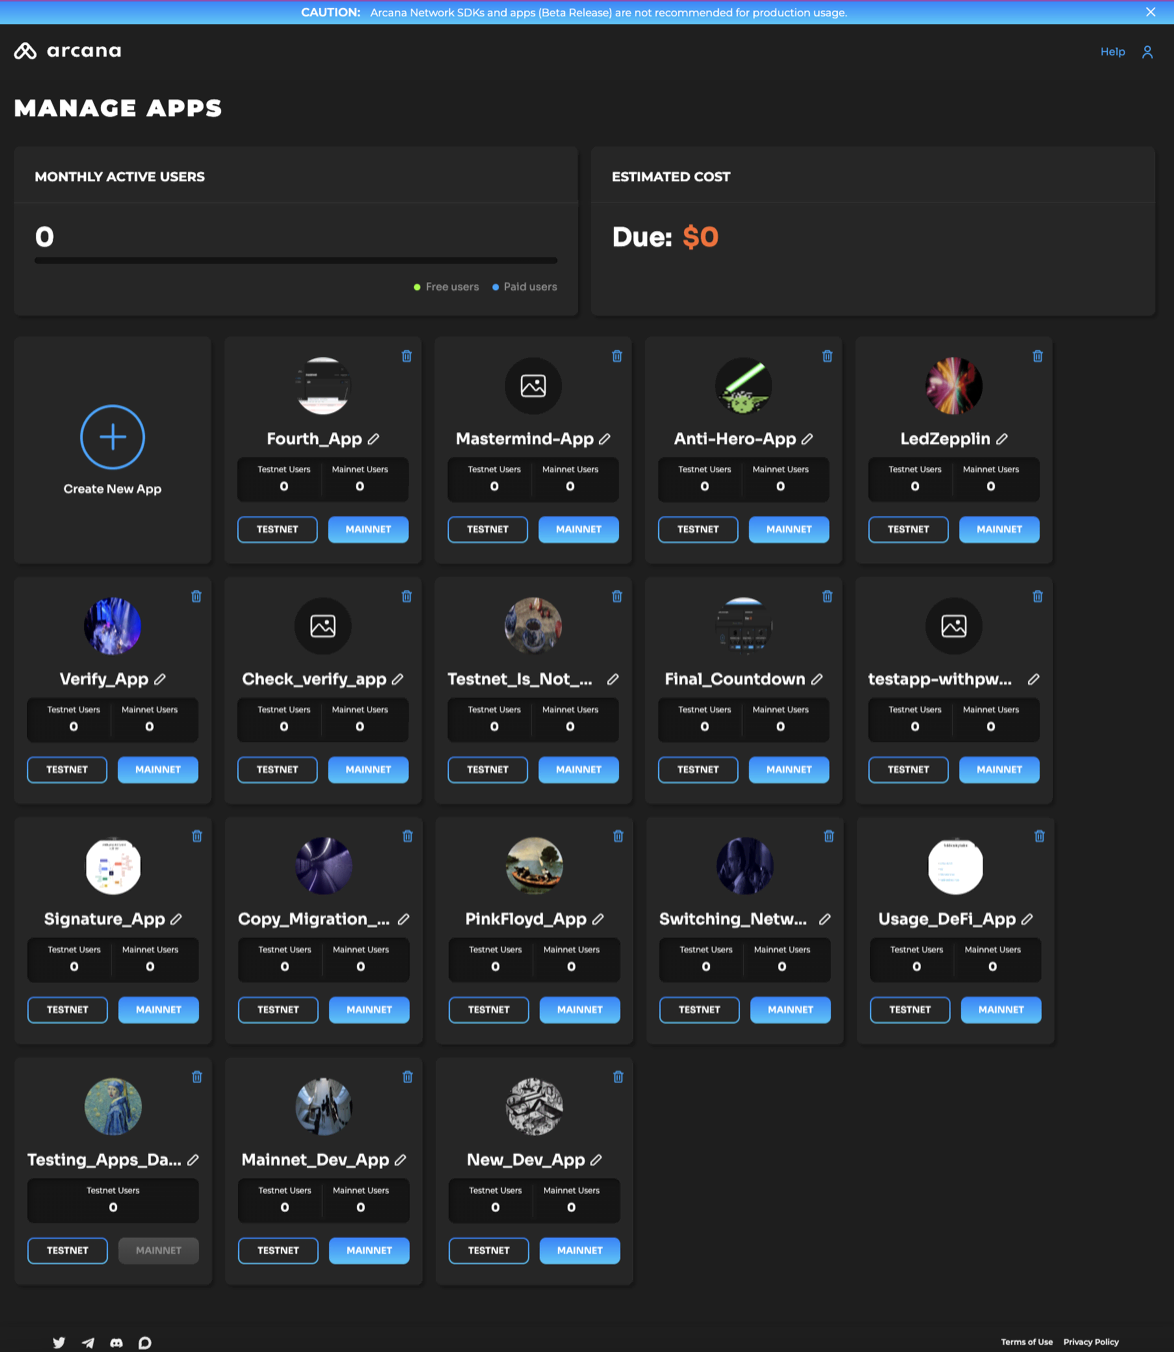
After logging in, the Manage Apps dashboard screen is displayed.
List Registered Apps
Each app registered for a developer account is represented by a card in the Manage Apps screen of the Arcana Developer Dashboard.
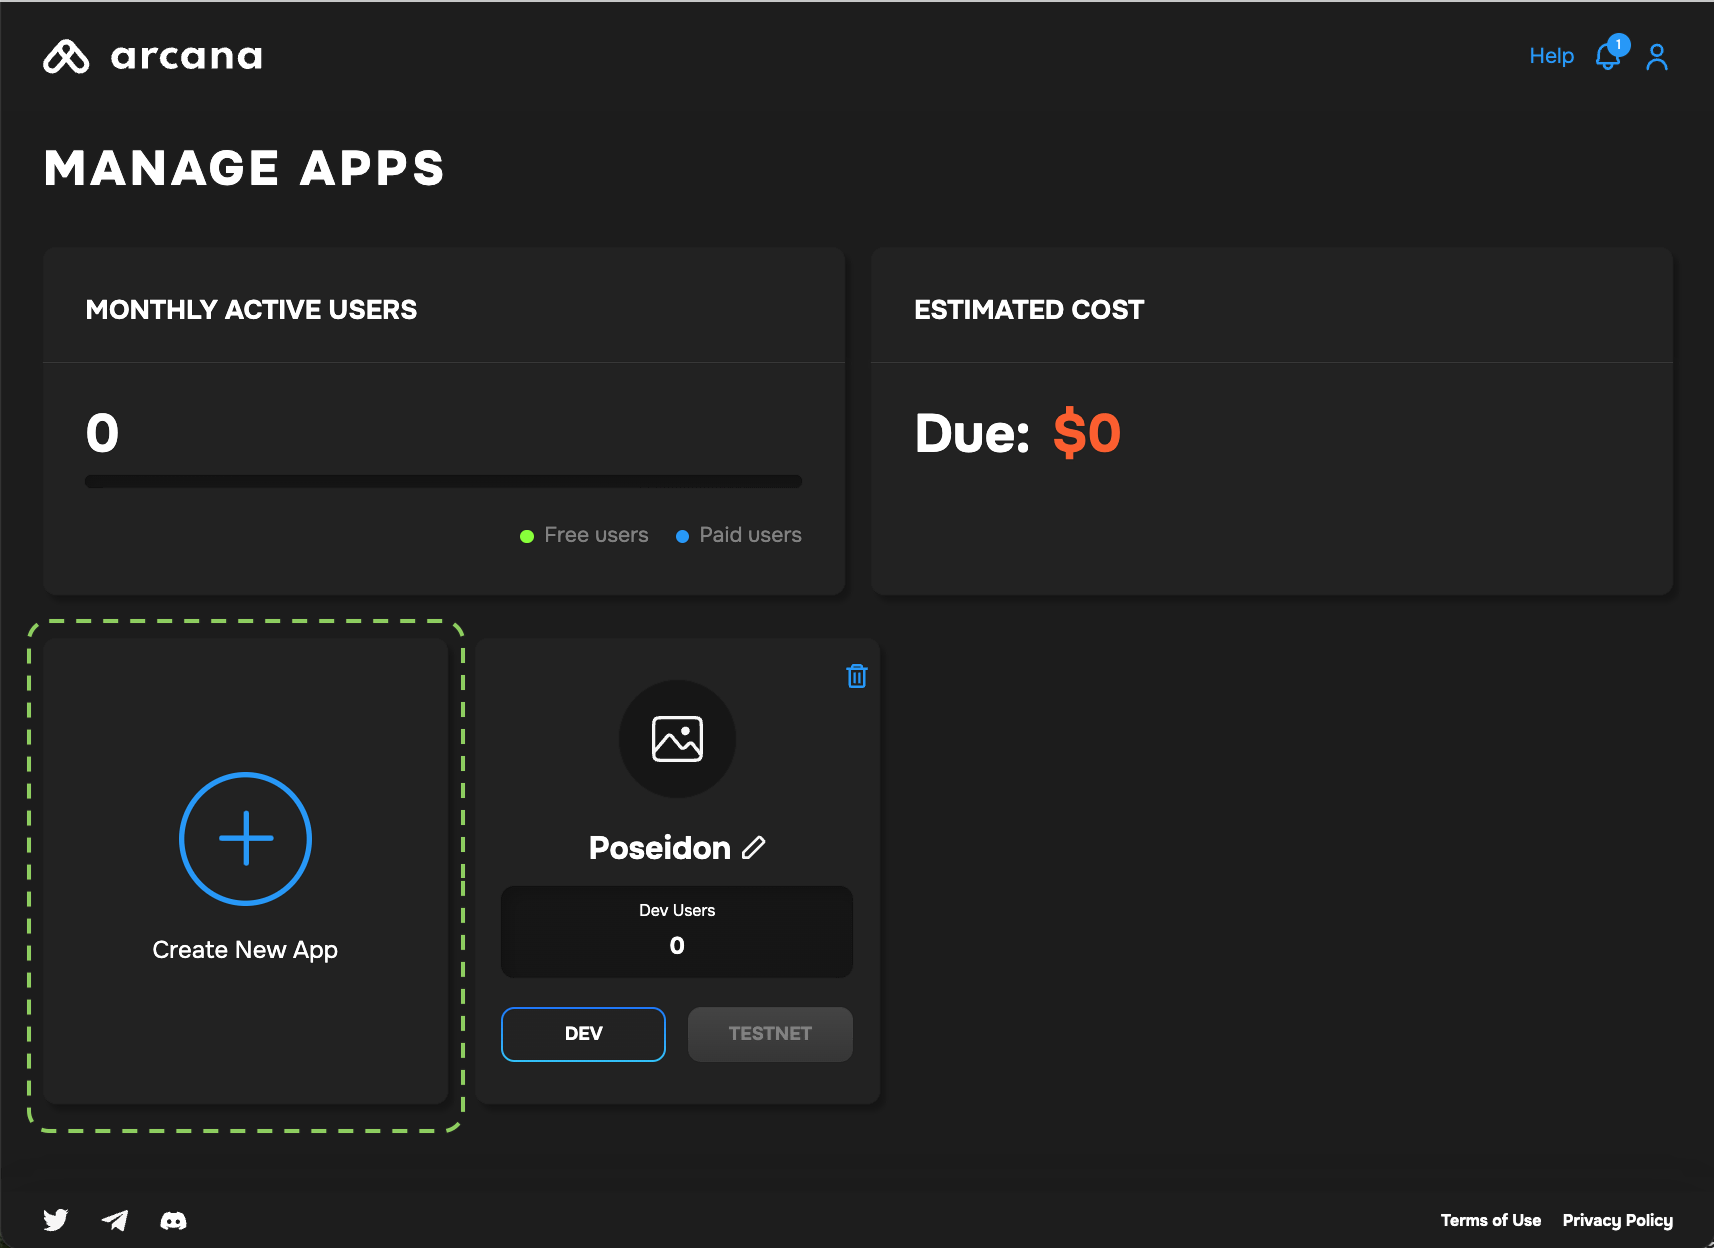
Initiate App Registration
In the 'Manage Apps' dashboard, click Create New App wizard to register a new app.
Registration Settings
To register a new app, the developer needs to provide the following settings:
- App name
- Chain Type: EVM, Solana, MultiversX
- Default Blockchain
- Wallet UI Mode
App Name
Add a unique name for the app. It can be edited later. After registration, a unique Client ID is associated with each app name. This Client ID is never changed, even if the app name is altered.
All emails related to a registered app billing or user login will mention the latest app name as displayed in the dashboard. Once an app is deleted, the Client ID is no longer valid. Creating a new app with the same name and registering it with Arcana will result in a new Client ID associated with the same name.
Edit App Name
To edit the name of a registered app entry, use the pen icon. Click Enter in the editable text field to save the changes.
Chain Type
Developers need to decide at the time of registration whether the app will use the EVM chains or one of the non-EVM chains supported by the Arcana Auth SDK.
Non-EVM Chains
When registering an app through Arcana Developer Dashboard, the choice of chain type (EVM, MultiversX, or Solana) is final. App developers can't change it later. They can switch the default chain within the same type. For example, a Solana app on Testnet can switch to Solana Mainnet or Solana Dev but not to MultiversX or an EVM chain.
Default Blockchain
The chain marked as default is the one that is selected and displayed in the wallet once the user logs into an app that is integrated with the Arcana Auth.
The default chain can be changed programmatically via the app developer once the user approves switching of the chain. Also, the user can change the default chain anytime by using the wallet UI. Chains can be switched to any one of the ones displayed in the pre-configured list in the wallet UI or in the app chain settings displayed in the dashboard.
Wallet UI Mode
The wallet UI mode setting allows the developers to choose whether they want to enable the built-in Arcana wallet UI in the context of their app or build a custom wallet UI for the app users. Note, this is a one-time setting at the time of registering the app.
By default, Arcana wallet UI is enabled for all registered apps. Selecting Custom Wallet UI option disables the built-in Arcana wallet UI altogether.
Custom Wallet UI
This is a one-time setting. It cannot be changed again later once the app is registered. When selecting the custom wallet UI option, developers must build a custom wallet UI and programmatically wire it to the appropriate JSON-RPC Web3 wallet operations. Also, there are no notifications generated by the Arcana Auth SDK when a custom wallet UI is selected. The developers must add requisite logic and code to get the user approvals for blockchain operations.
Confirm Registration
After providing all the required inputs, click Create to register the app.

A newly registered app dashboard displays Testnet configuration settings. A unique Client ID is assigned for the Testnet profile. Developers can deploy the app on the Arcana once SDK usage is configured in the dashboard and the app is integrated with the SDK.

Mainnet Deployment
To deploy the app on the Arcana Mainnet, developers need to create a Mainnet configuration profile and obtain a different Client ID. Update the integration code with this Mainnet Client ID. This step is necessary to deploy the app on the Arcana Mainnet.
For more information, refer to the Testnet > Mainnet Migration Guide.
Click Configure in the LHS menu to view and edit the configuration settings.
That is all! 🎉
Save Client ID
A unique Client ID assigned to the registered apps is displayed on the top right of the dashboard screen.
Use it to integrate the app with the Arcana SDKs.

What's next?
After registering the app, configure gasless settings first. Then install the Arcana Gasless (Standalone) SDK and integrate the app.
See Also
- Deleting Application Entry
- Managing Testnet and Mainnet Configurations
- Arcana Gasless (Standalone) SDK Usage Guide