Solana Setup
This guide explains how to activate Solana, a non-EVM blockchain in a Web3 app and allow users to sign blockchain transactions using the Arcana wallet.
Use the Arcana Developer Dashboard to first configure user onboarding settings, select Solana and tailor the blockchain signing experience for an app and then integrate the app with the Arcana Auth SDK.
Prerequisites
-
To use the Arcana Developer Dashboard, developers can sign in using one of the supported social login providers or opt for passwordless sign-in.
- GitHub
- Twitch
- Discord
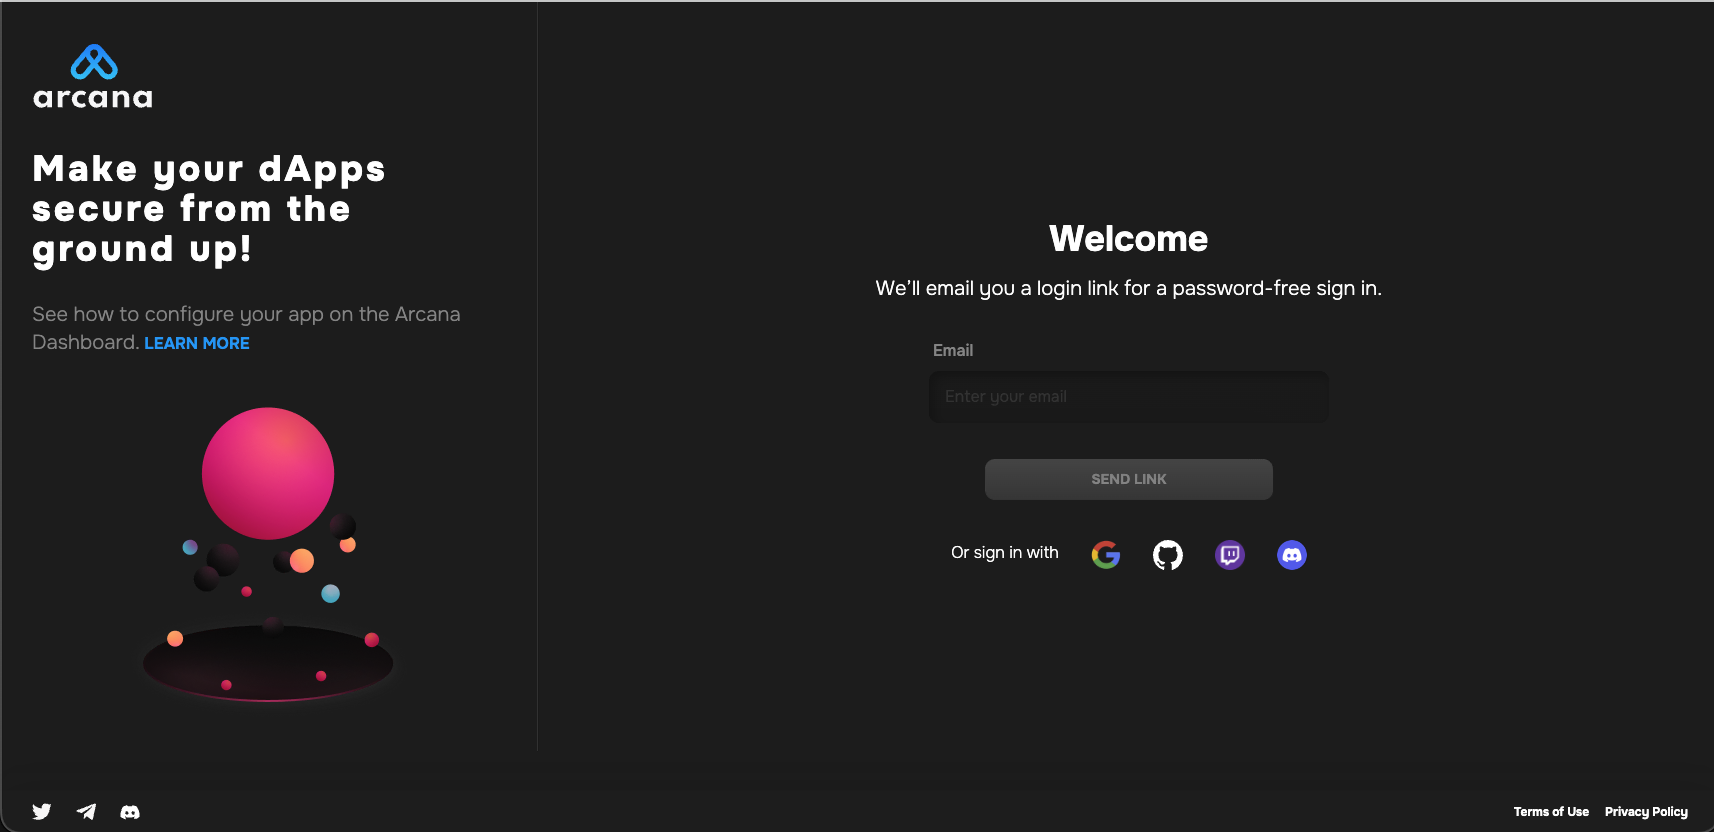
Go to https://dashboard.arcana.network and log in using one of the available options.
Aggregate Login
The Arcana Auth protocol aggregates multiple login identities for the user across social login providers under a single identifiable Arcana account. This enables developers to log into the Arcana Developer Dashboard through any of the supported login providers and access the same Arcana developer account and app settings.
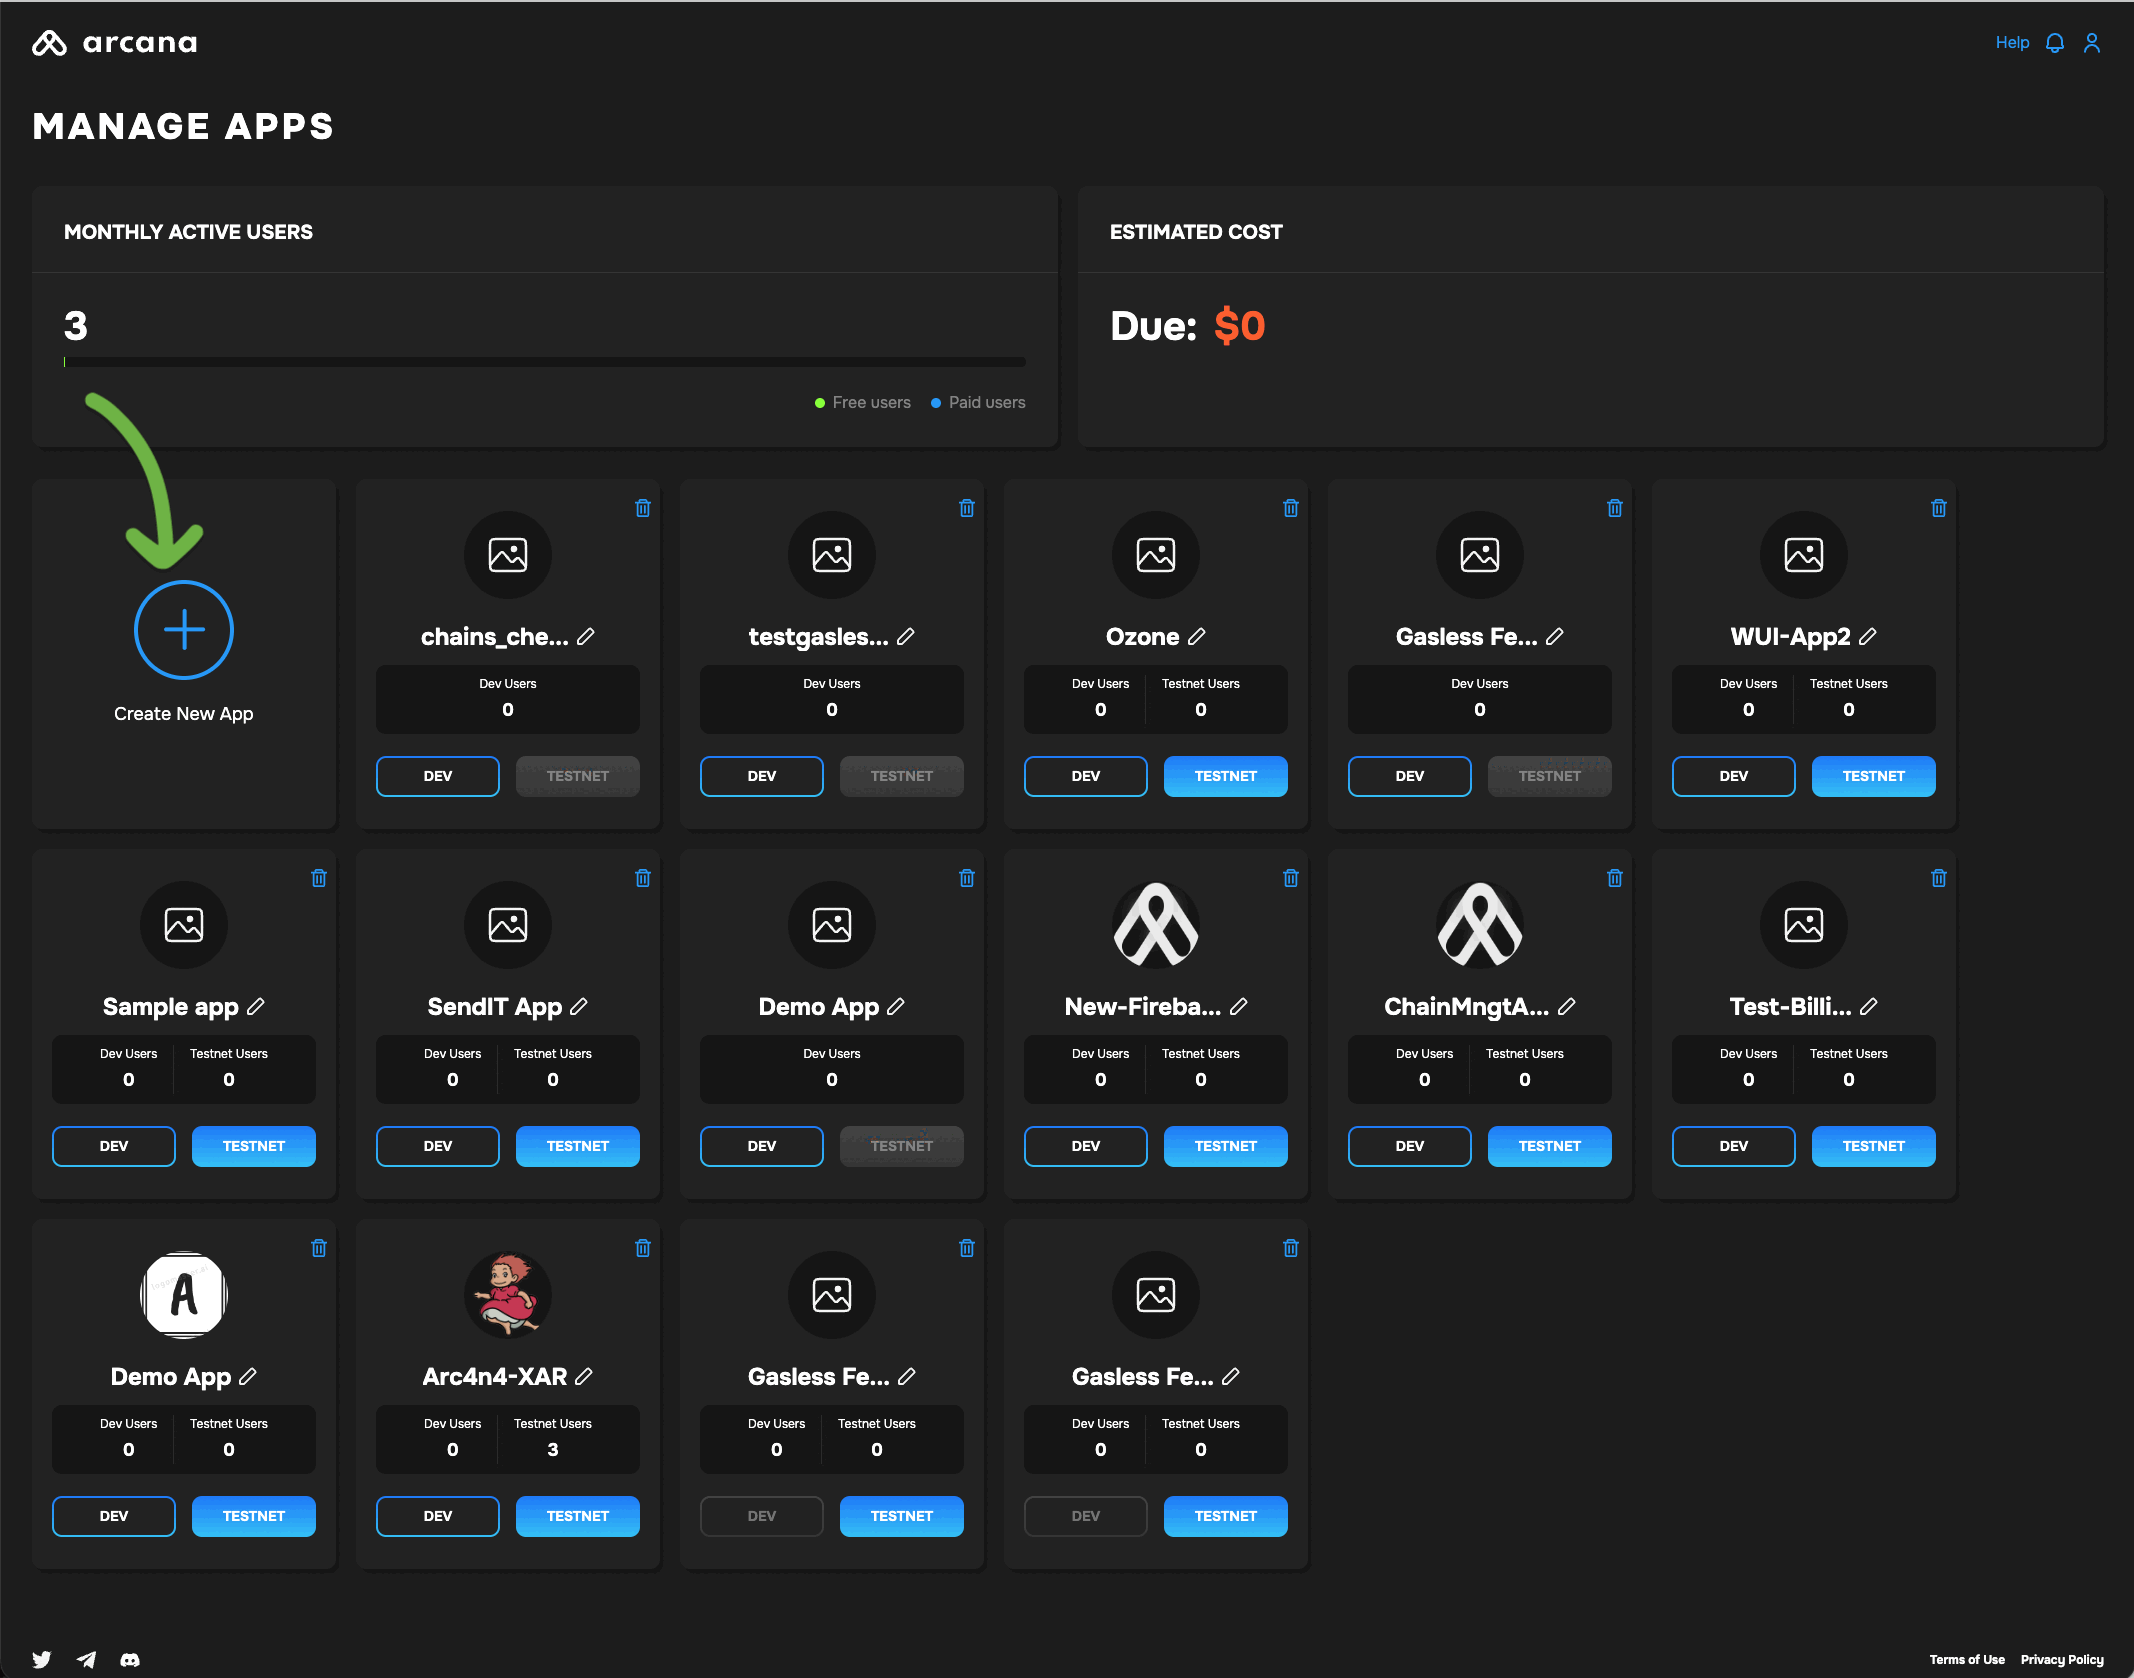
Register App
To register an app that uses the Solana network, create a new app and select the chain type as Solana. Select one of the Solana chains as the default chain.
Non-EVM Chains
When registering an app through Arcana Developer Dashboard, the choice of chain type (EVM, MultiversX, or Solana) is final. App developers can't change it later. They can switch the default chain within the same type. For example, a Solana app on Testnet can switch to Solana Mainnet or Solana Dev but not to MultiversX or an EVM chain.
Configure App
Refer to the Arcana Developer Dashboard User's Guide for details on how to configure the branding, social authentication providers and other settings. In this section, you will learn how to configure the Solana network for the app via the Chain Management configuration section.
Manage Solana chains
In the Manage Apps screen select the requisite configuration profile to bring up the app dashboard page. In the LHS click Configure and select Chain Management.
You will see the available Solana chains that will be displayed when a user logs in and accesses the Arcana wallet.
Default Chain
You can select one of the Solana networks and set it as the default chain. The default chain is shown as the selected chain in the Arcana wallet displayed in the app's context.
Edit Chain
To edit a Solana chain's RPC URL or the blockchain explorer URL, select the chain, click edit and update the required fields.

For more details on using the dashboard to delete an app, switch between different applications, change configuration profile, monitor usage, etc., see Arcana Developer Dashboard User's Guide.
Next Steps
After setting up Solana chains using the Arcana Developer Dashboard, you can begin integrating Solana app with the Arcana Auth SDK. See Solana Quick Start Guide for instructions on how to install and integrate the Arcana Auth SDK with your app. Once integrated, you can add code to onboard users and initiate Web3 wallet operations using the Solana network. Refer to the sample code here.
See Also
- Solana Quick Start Guide
- Web3 Wallet Operations for Solana
- Integrating Solana App FAQ
- Solana App Integration Example