Migrate App Deployment: Testnet -> Mainnet
In this guide, you will learn how developers can migrate the apps deployed on Arcana Testnet to Arcana Mainnet.
Prerequisites
- The app must be deployed on Arcana Testnet already.
Steps
Step 1: Configure Mainnet Profile
Browse the 'Manage Apps' page on the Arcana Developer Dashboard. Select the app that you wish to deploy on Mainnet. By default, the 'Mainnet' configuration button is disabled. Click on the 'Testnet' configuration profile.
In the app configuration dashboard, refer to the 'Testnet' dropdown on the top right. Click and choose the 'Mainnet' option. You can either copy the Testnet profile as Mainnet or create a fresh one.
In both cases, the Mainnet configuration profile is created and has a new Client ID assigned to it. After the Mainnet profile is created successfully, you will see 'Mainnet' selected in the top RHS dropdown.
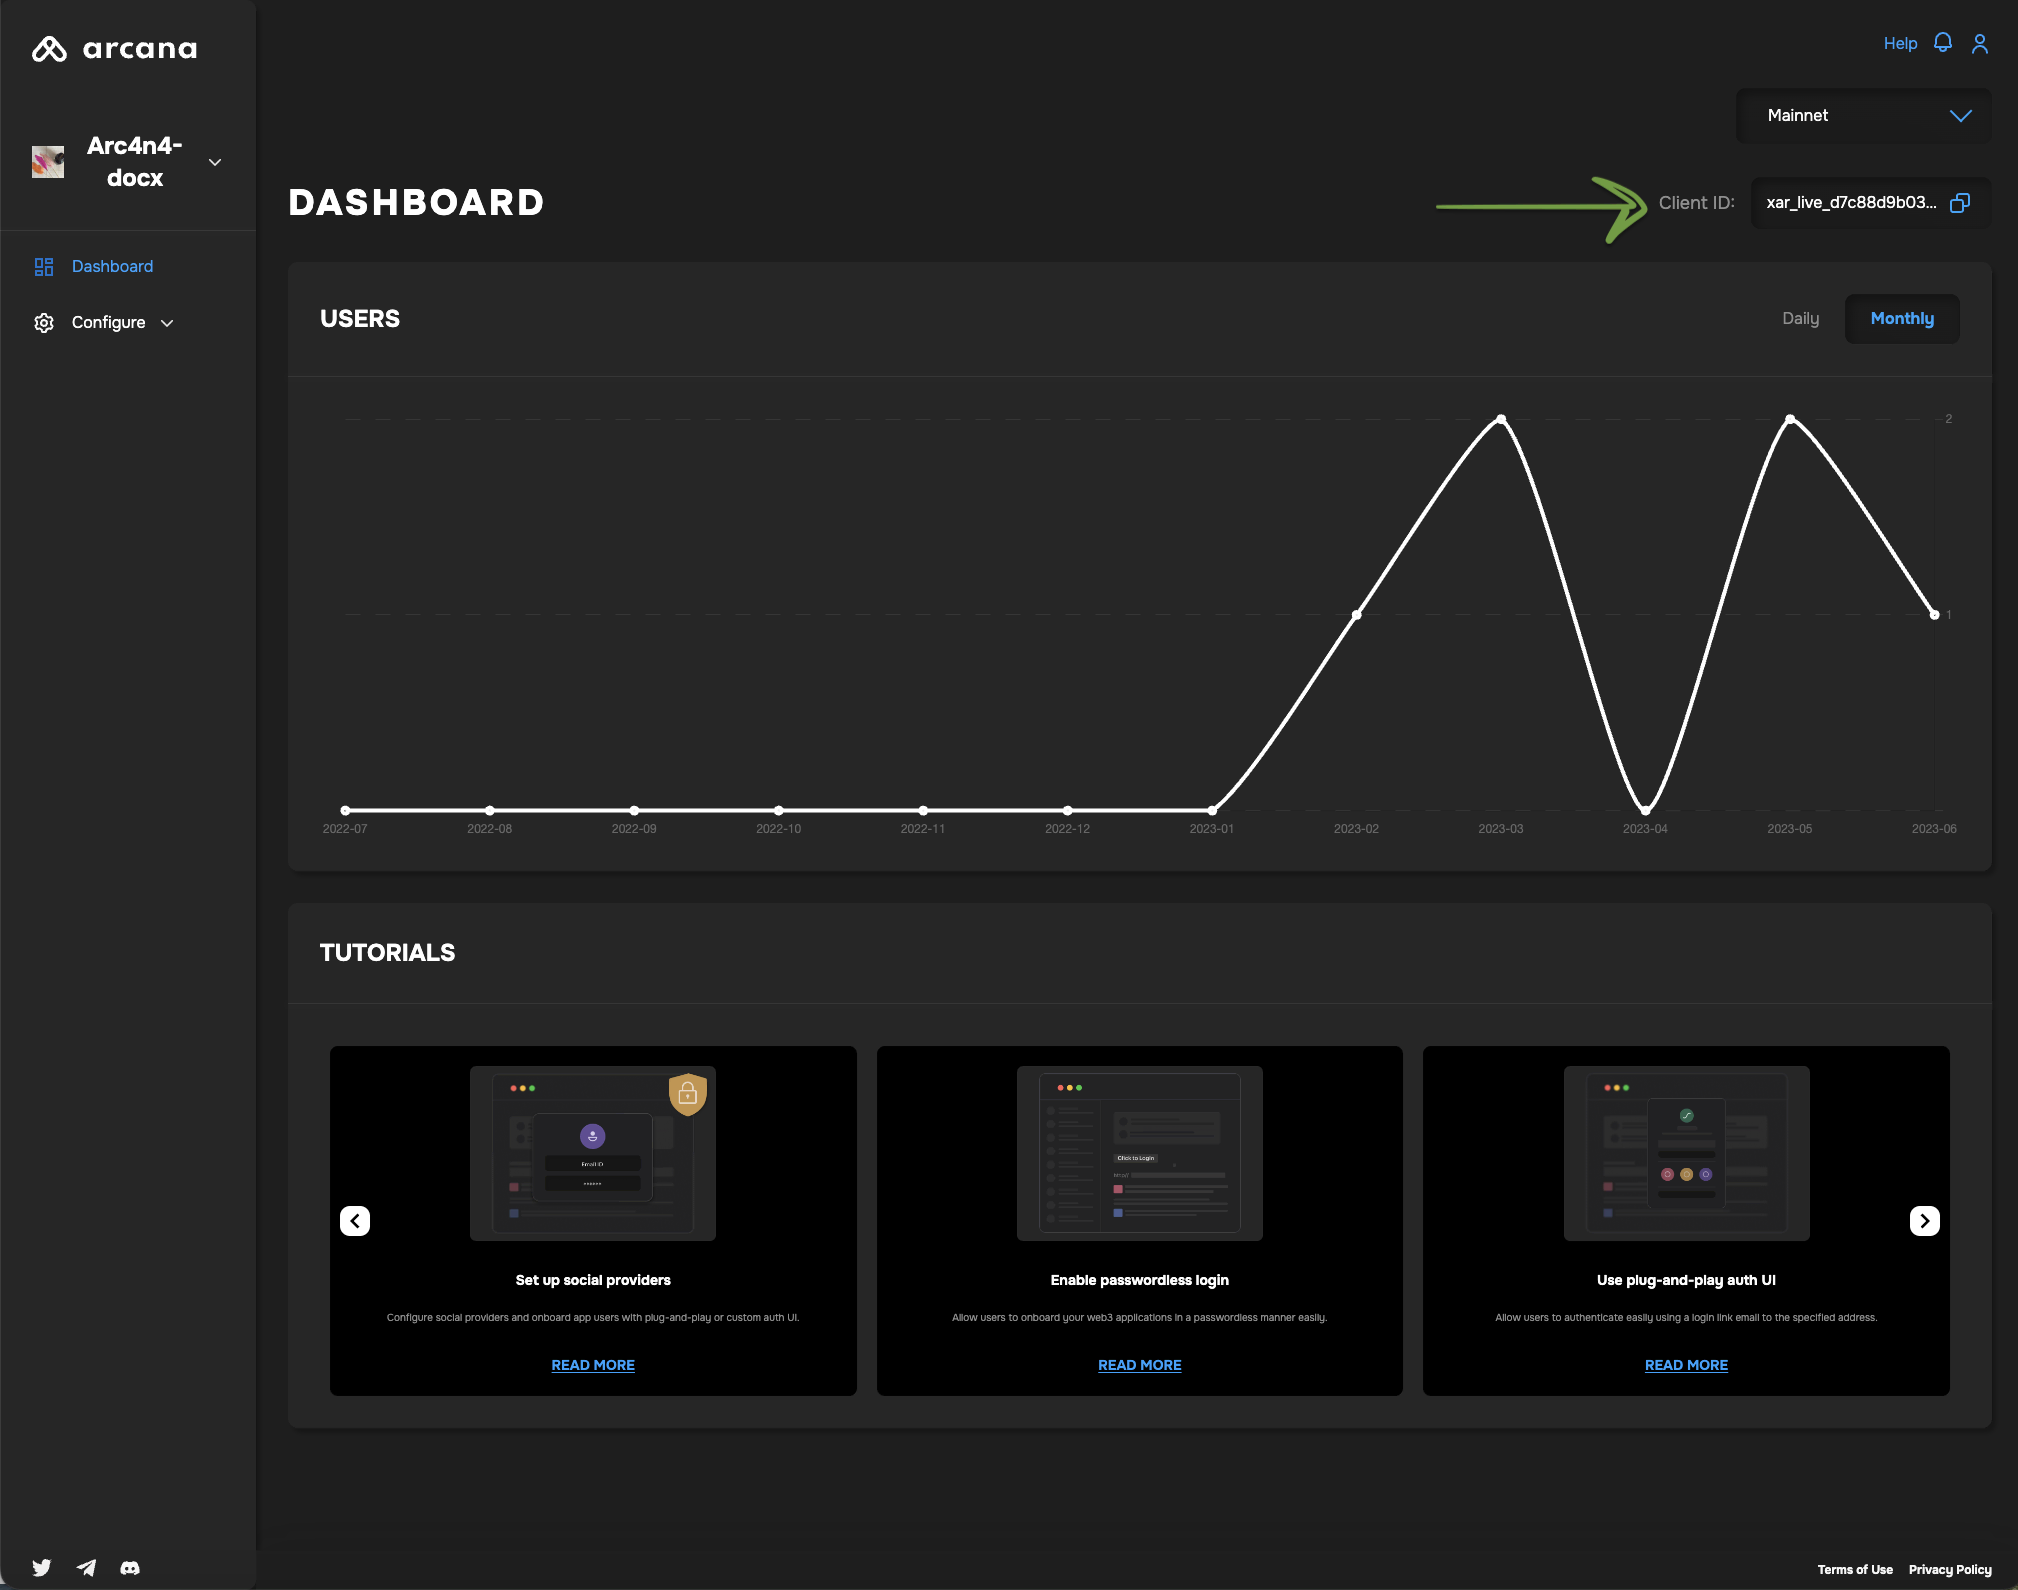
Copy the newly assigned Client ID in the Mainnet settings. It will be of the format xar_live_nnnnnnnnnnn...nnn.
Copying Testnet Profile
If the developer chooses to create the 'Mainnet' profile by copying the 'Testnet' profile, there is an additional setup required to update the configuration of the authentication provider settings. Once the 'Mainnet' profile is created, click the application configuration in the LHS nav of the Arcana Developer Dashboard and choose Social Auth section. Then copy the 'Redirect URI' displayed for the 'Mainnet' profile. You need to update this 'Redirect URI` value in the respective social login provider developer console.
Step 2: Update Integration Code
Refer to the app integration code where you created a new AuthProvider. Replace the Testnet Client ID with the newly created Mainnet one with xar_live_nnnnn format and recompile the app. The app is ready to be deployed on Arcana Mainnet.
Refer to the example below:
import {AuthProvider} from "@arcana/auth";

const provider = new AuthProvider(
  "xar_live_d7c88d9b033d100e4200d21a5c4897b896e60063", {  //mainnet Client ID
  // network: 'mainnet',  // optional
  chainConfig: {
    chainId: '137',      // selected chain in the wallet network dropdown UI
    rpcUrl: 'https://polygon-rpc.com/',  // RPC URL of the selected chain in the wallet network dropdown UI
  },
  alwaysVisible: true,
  setWindowProvider: true,
  debug: true,
  position: 'right',
  theme: 'dark',
});
Next, call the init function to initialize the newly created AuthProvider before calling any other SDK functions.
try {
  await auth.init()
} catch (e) {
  // Handle exception case
}
Step 3: Deploy on Mainnet
Bring up the app. When a user authenticates, they will be assigned a new wallet address corresponding to the Arcana Mainnet.
Verify Testnet/Mainnet Deployment
If you miss updating the Client ID in the integration code for Mainnet deployment, the app will get deployed on Arcana Testnet. The authenticated users will see a warning informing them that the app is deployed on Testnet.
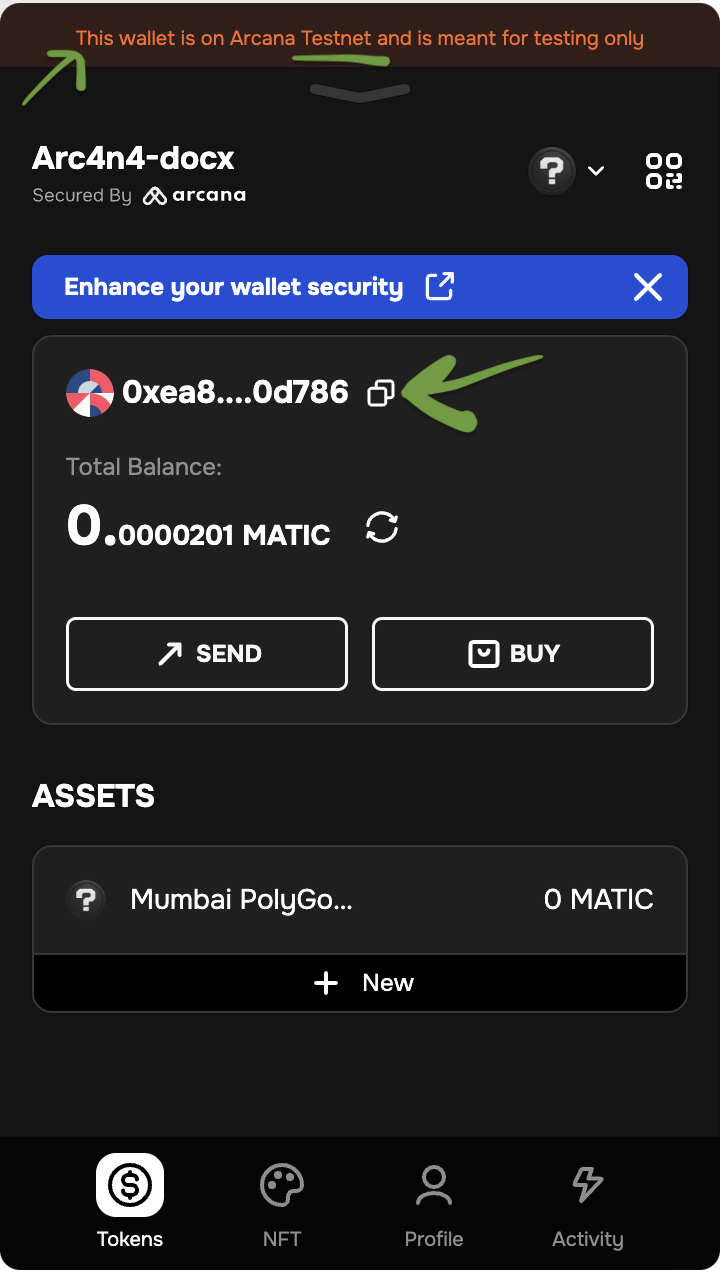
If there is no Testnet warning displayed on the Arcana wallet, then the app is successfully deployed on Arcana Mainnet.
That is all!
See Also
- How to deploy on Testnet/Mainnet
- Arcana Auth SDK Errors
- Arcana Auth SDK Usage Guide
- Arcana Auth SDK Reference Guide